Getting started
zenshop has been made for the Shopify entrepreneur, your helpful copilot when dealing with your customer requests.
We've written this guide to give you an easy introduction to zenshop and how to get started.
If you're having any problems, questions, anything contact us.
Make sure you've installed the Desktop and Mobile App
Firstly, before we get going, be sure to checkout the downloads, so you're running the latest App for Windows / macOS and Mobile!
zenshop works best with the Apps.
Letting customers contact you with zenshop
For customers to contact your Helpdesk, you'll want to setup a Mailbox and our Messenger.
zenshop focuses on mail and does it amazingly well, we've found it's a convenient, low cost and efficient way to respond to customer questions - especially for the Shopify entrepreneur!
Configure a Mailbox
When you install zenshop, you're automatically assigned a Mailbox, usually it's something like support@superstar.zen-mail.com, replace superstar with your Shopify domain.
You can open your Mailbox settings here (opens in a new tab).
If you're on a Max plan you can use your own domain (like support@superstar.com), please contact us if you'd like to set this up.
Mailboxes settings can be found in:
Helpdesk Settings > Integrations > Email.
Helpdesk Settings is located in the bottom left on desktop, and under the settings tab on mobile.
Configure mail forwarding
If you want to setup things like Mail forwarding and learn more about Mailboxes, checkout Configure mail forwarding and Configure a Mailbox for more information.
It can be a little challenge doing mail forwarding, so of course, contact us if you're having any issues.
Test your Mailbox
Send a test email to your Mailbox (opens in a new tab), as if you were a customer.
You should see it pop-up in your Inbox, you'll also get an Email notification and a Push notification (if you've enabled them).
Notifications in zenshop
Notifications from zenshop come from notifications@zen-mail.com and we suggest add this to your safe senders list.
An email notification in zenshop
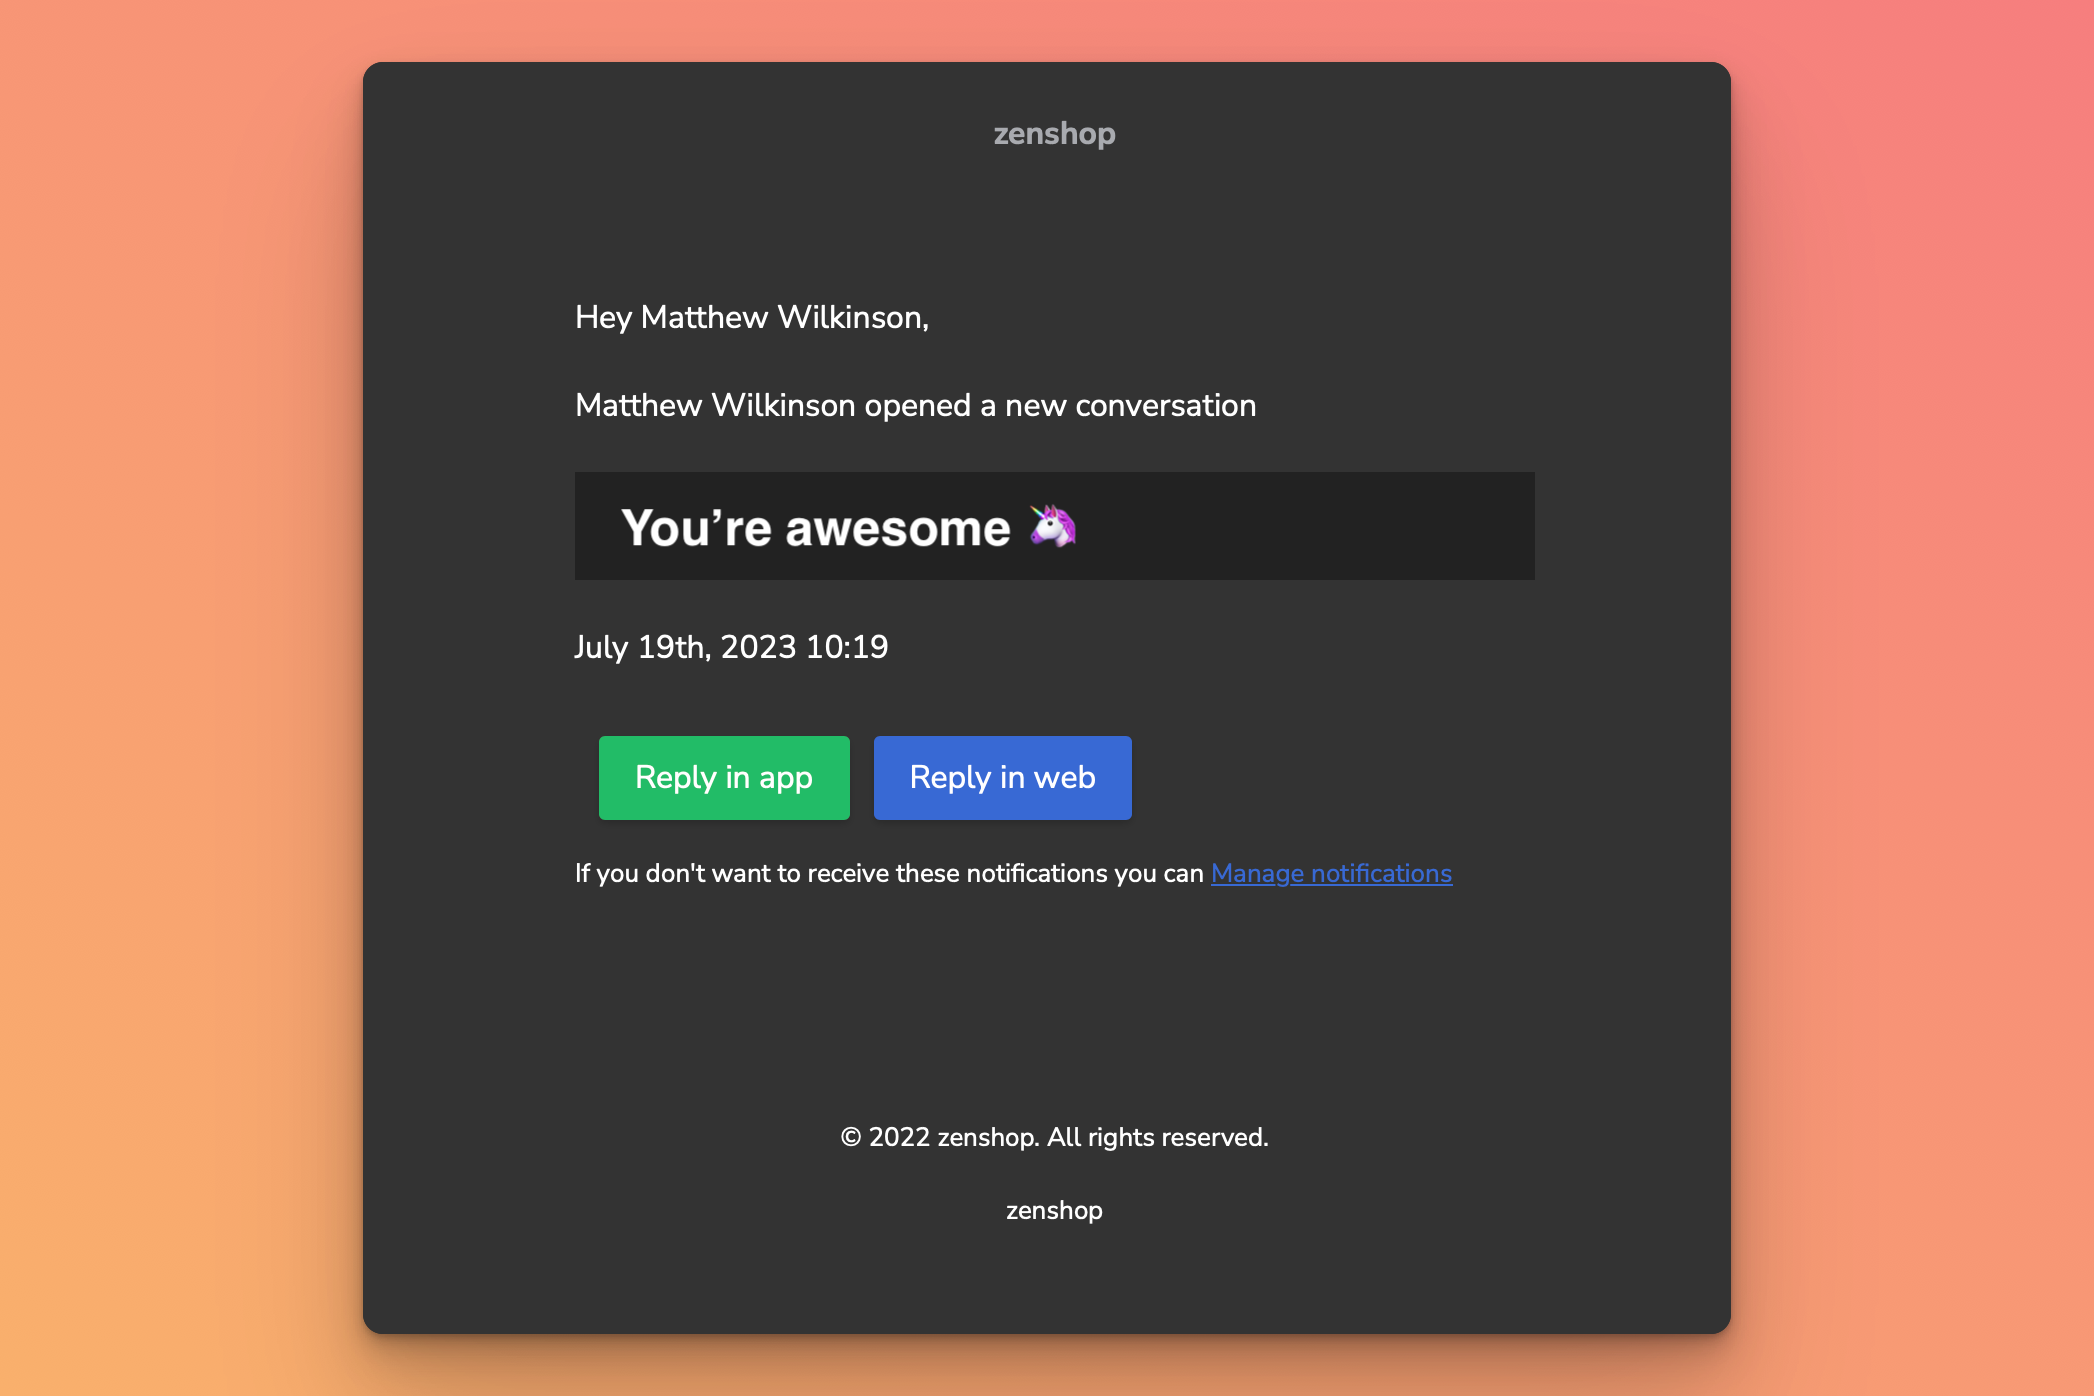
When you have the app installed, click the "Reply in app", and this will open your app.
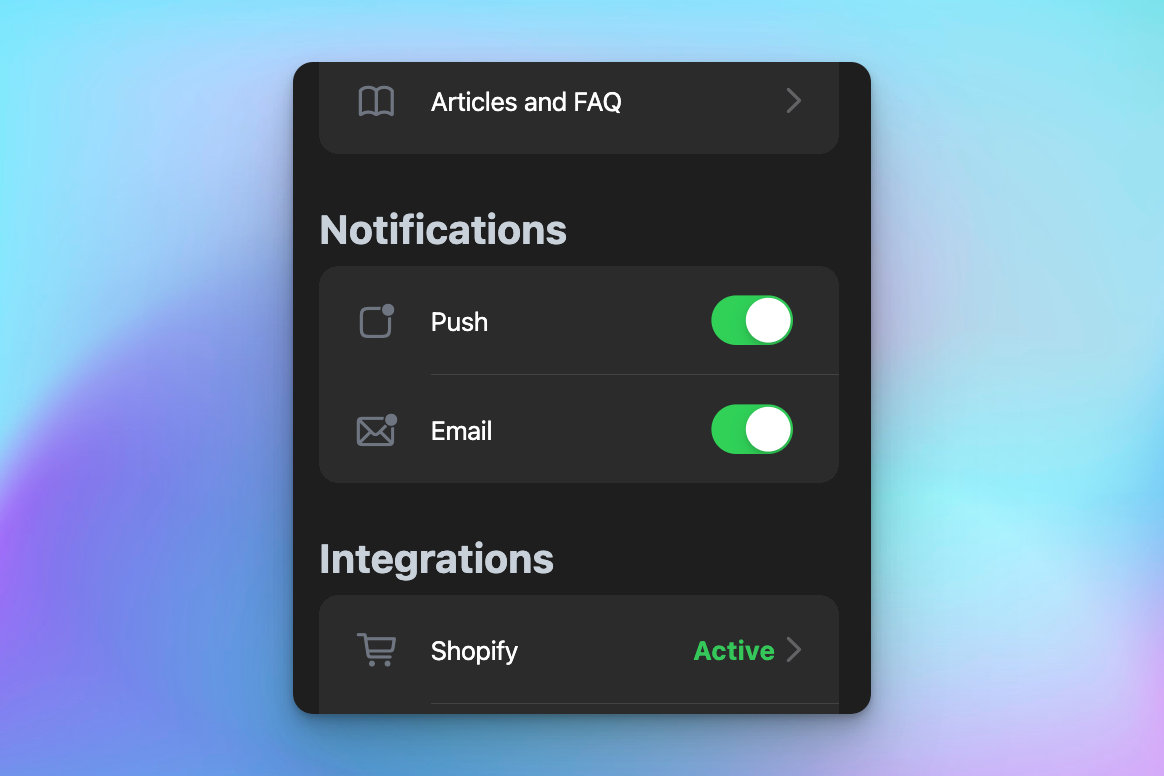
You can configure how you want to receive notifications, zenshop supports Push notifications as well as Email notifications.
Notification settings
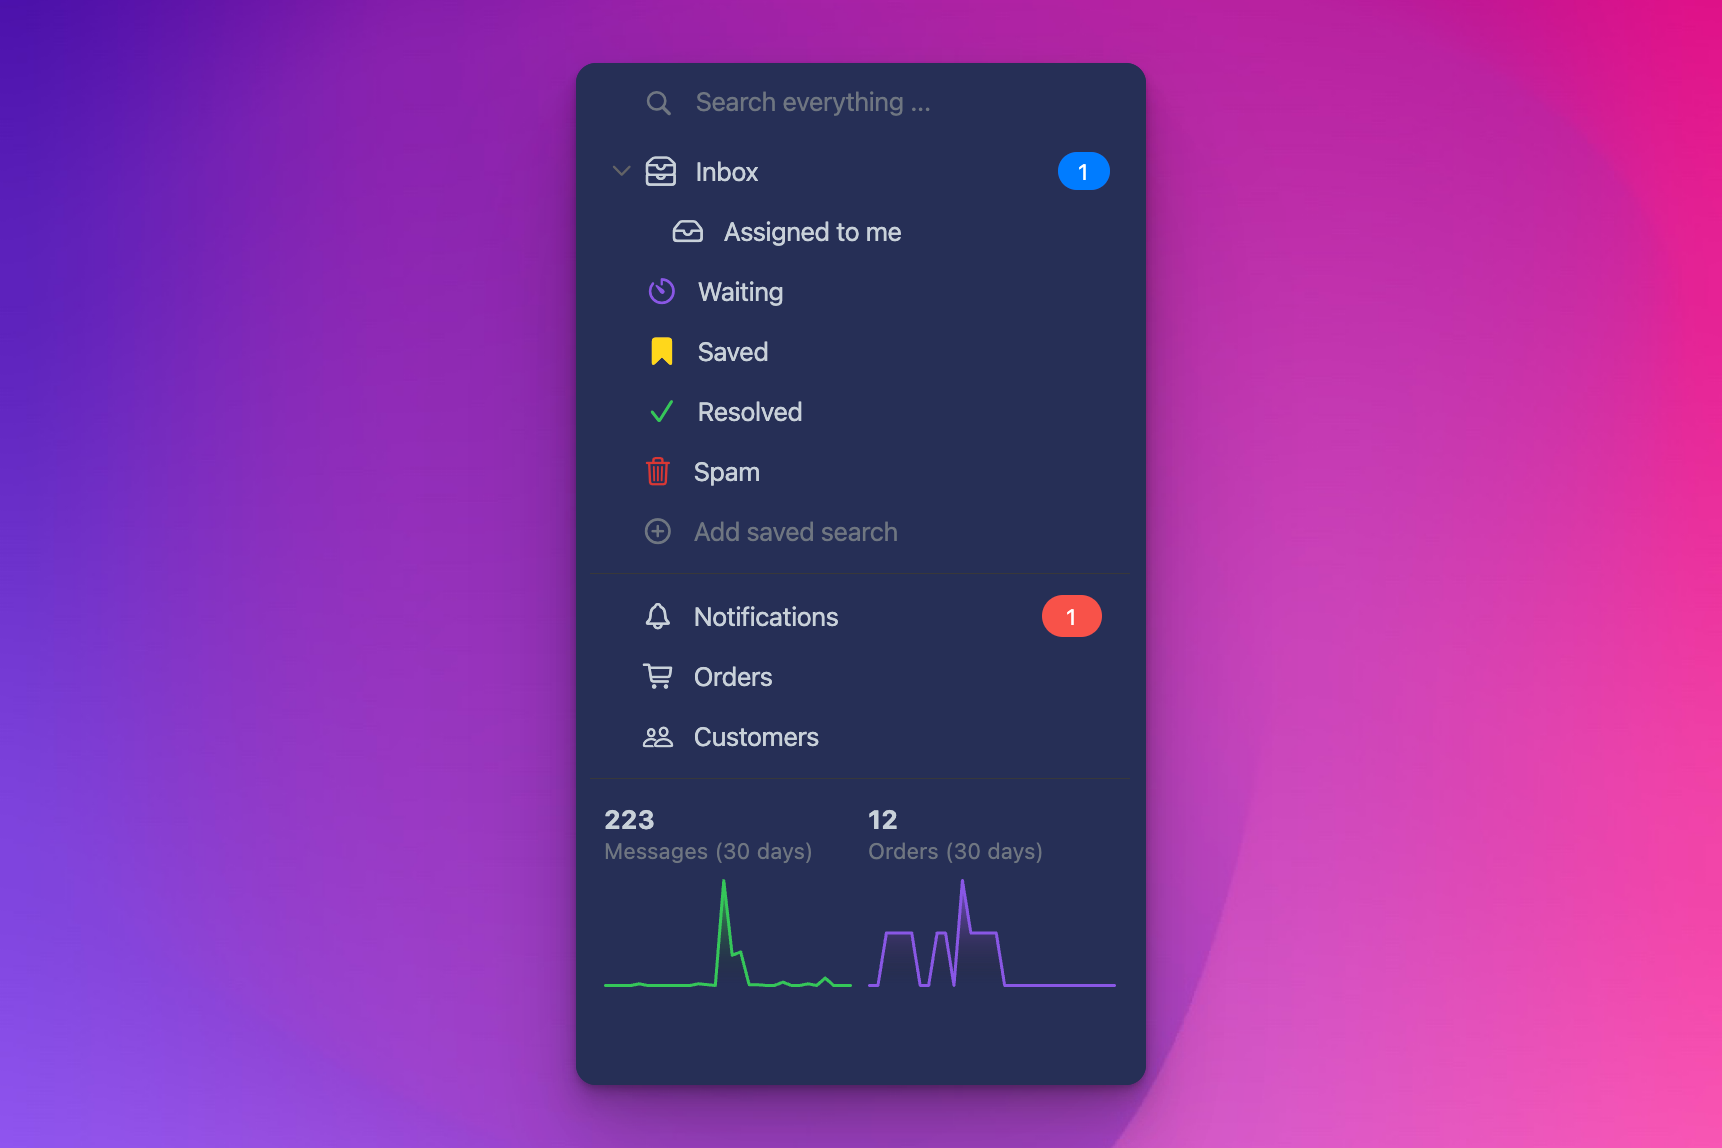
Several indicators will be made shown to you:
- The blue badge next to inbox, indicates a conversation needs a reply.
- The red badge on the app icon and the notification bell, indicates something needs your attention.
Notification alerts
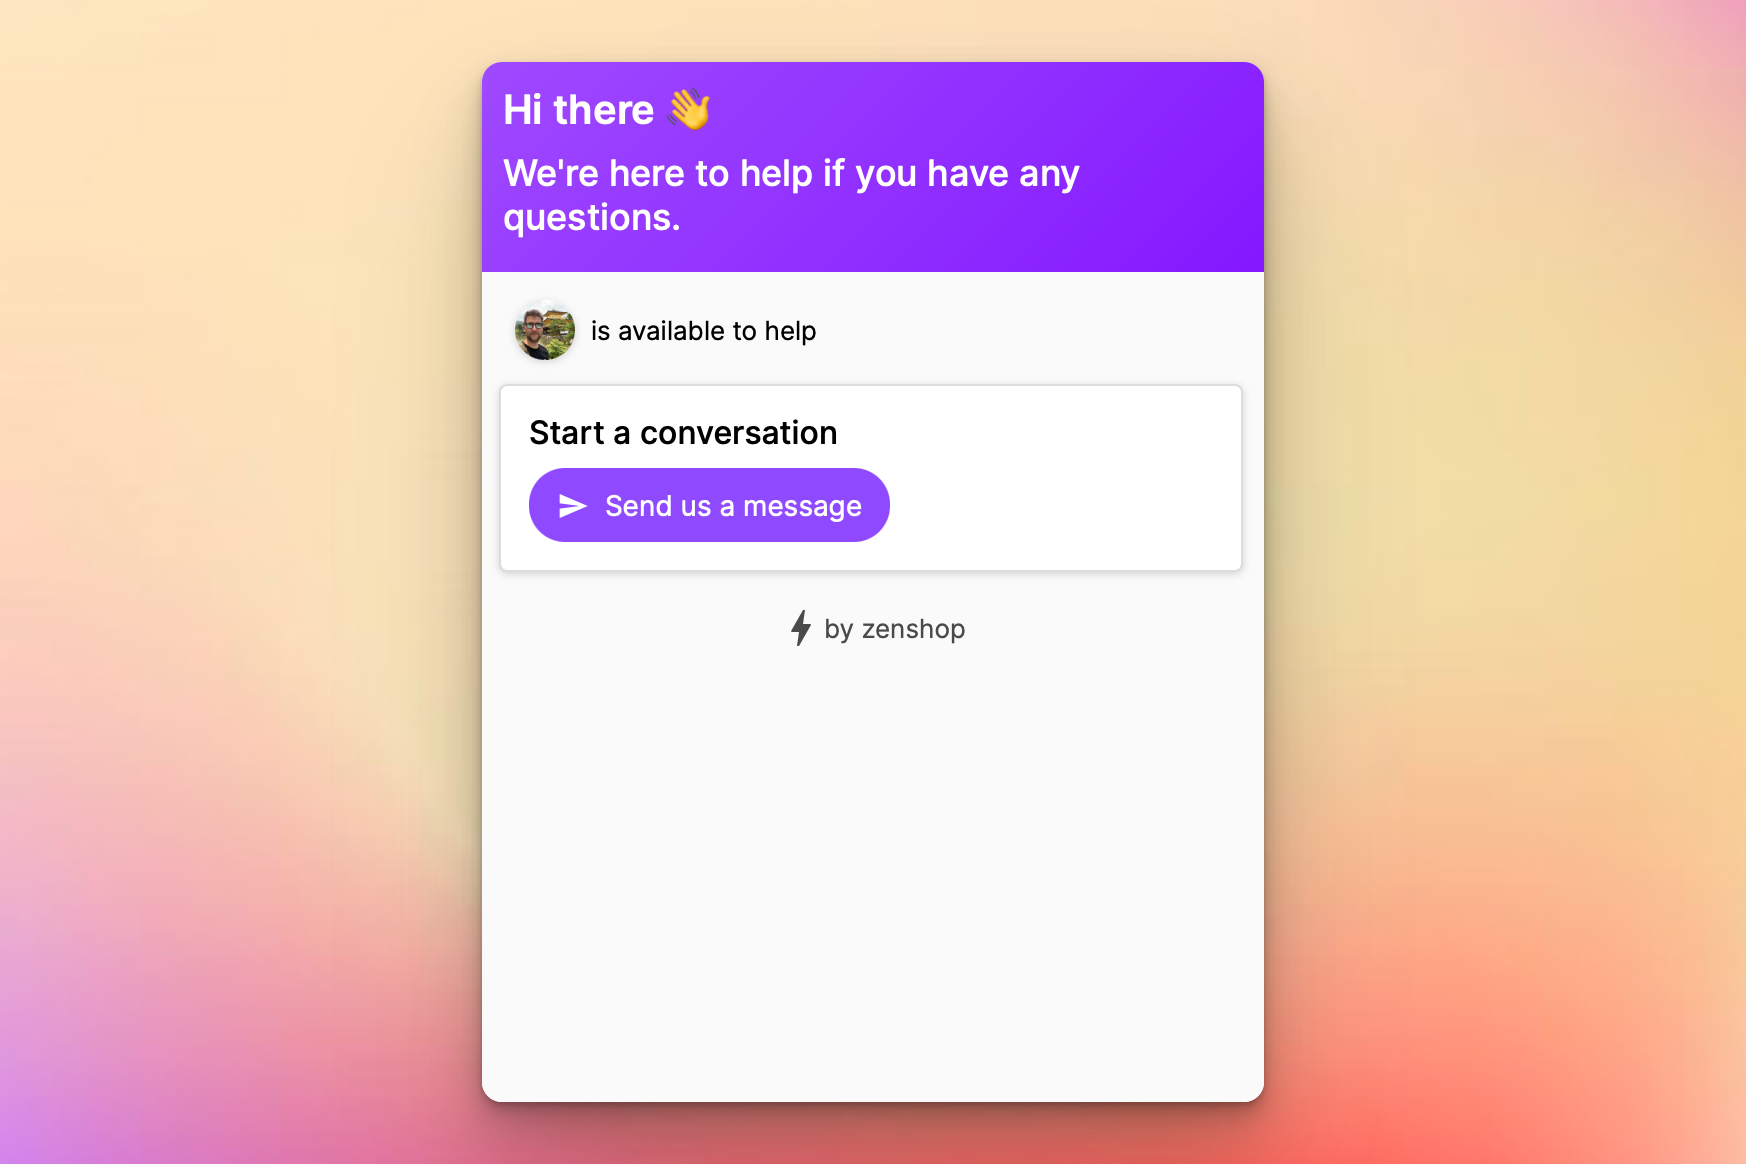
Setup your zenshop Messenger
Messenger is a great way for customers to contact your Helpdesk, not only can it streamline some basic information, like:
- phone number
- order information
Messenger can also help you organize conversations, and solve questions automatically like "Tracking update" "Product sizing information" "Returns policy?" etc.
Messenger can even suggest solutions to these problems with articles in an FAQ.
The default zenshop Messenger
You can find your Messenger settings here (opens in a new tab) under:
Helpdesk Settings > Messenger > Theme and display.
Articles and FAQ for the Messenger can be found in:
Helpdesk Settings > Messenger > Articles and FAQ.
Helpdesk Settings is located in the bottom left on desktop, and under the settings tab on mobile.
Automating your work
There's a whole load of automation features that will really speed up your work responding to customers, zenshop gives you super powers and it's only getting better.
Use templates to automate messages
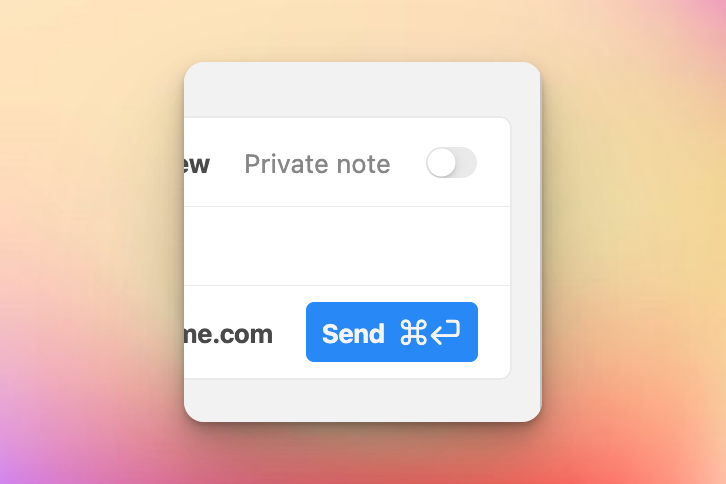
You can create templated messages here (opens in a new tab) that use our {{ handlebars }} and markdown (opens in a new tab) syntax to automatically fill out information like customer details and order information.
In the reply box use the / key and the template shortcut, then press enter, to use the template.
We have a comprehensive template guide here.
An idea of the things you can do
Dear {{ check customer.full_name 'Valued customer' }},

Your {{ order.name }} has been **dispatched**.

Thankyou {{ org.name }}
In the above example the following features are shown:
{{ handlebars }}to fill in customer details and order information.- Using the
checkfunction to handle for cases when the customer name is unavailable. - Stylizing bold text with markdown.
- Replying with the org name (we refer to teams as orgs in the zen-api).
If you use some app like 17track or other tracking app, {{ order.fulfillments }} should allow you to include tracking url for fulfilled orders, read more here.
Create articles in zenshop Messenger
Articles are a great way for you to answer commonly asked questions automatically with zenshop Messenger.
Some common types of questions to answer:
- Shipping policy and information
- Returns / refunds process
- Product sizing (if applicable)
Articles enabled, popular articles are shown prominently, others are searchable.
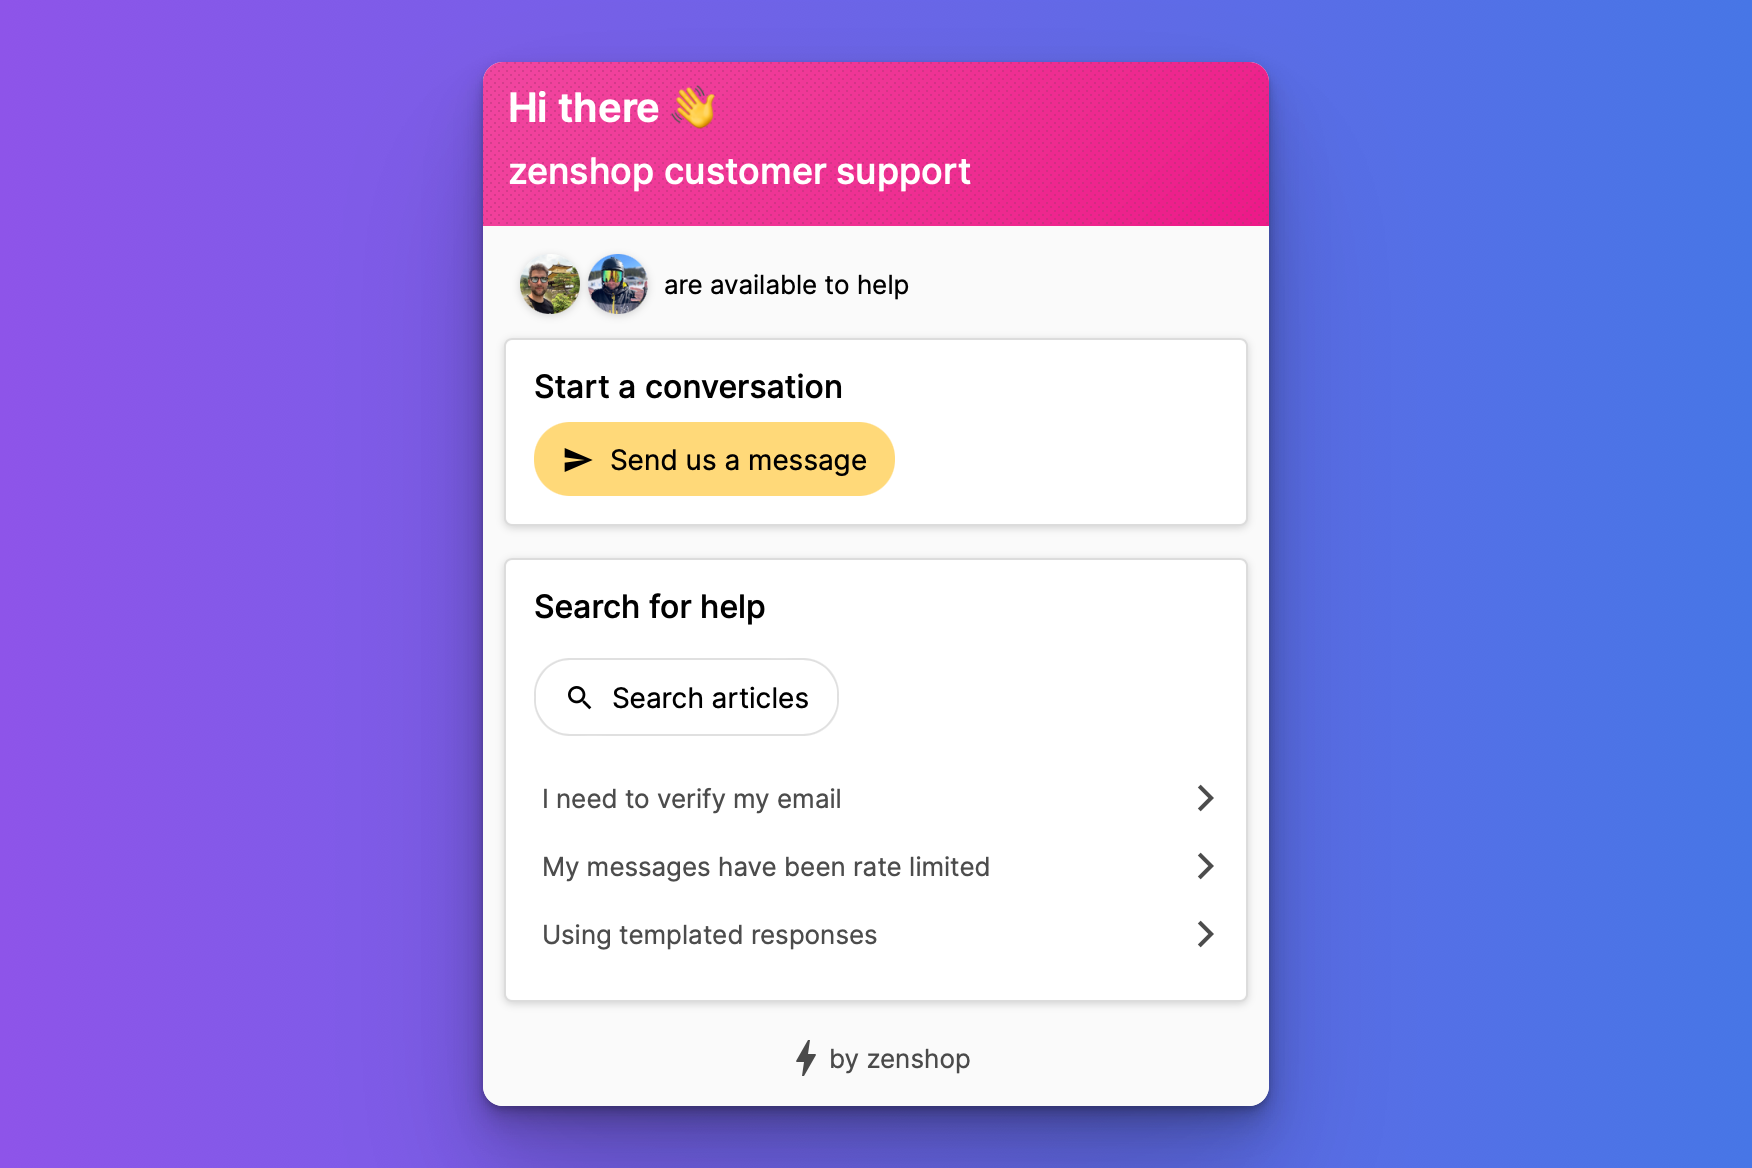
zenshop shows your most popular articles prominently, there is a voting mechanism and a counter for each time an article is viewed by a customer.
The highest viewed and most positively voted articles are shown above others.
Clicking an article expands the Messenger.
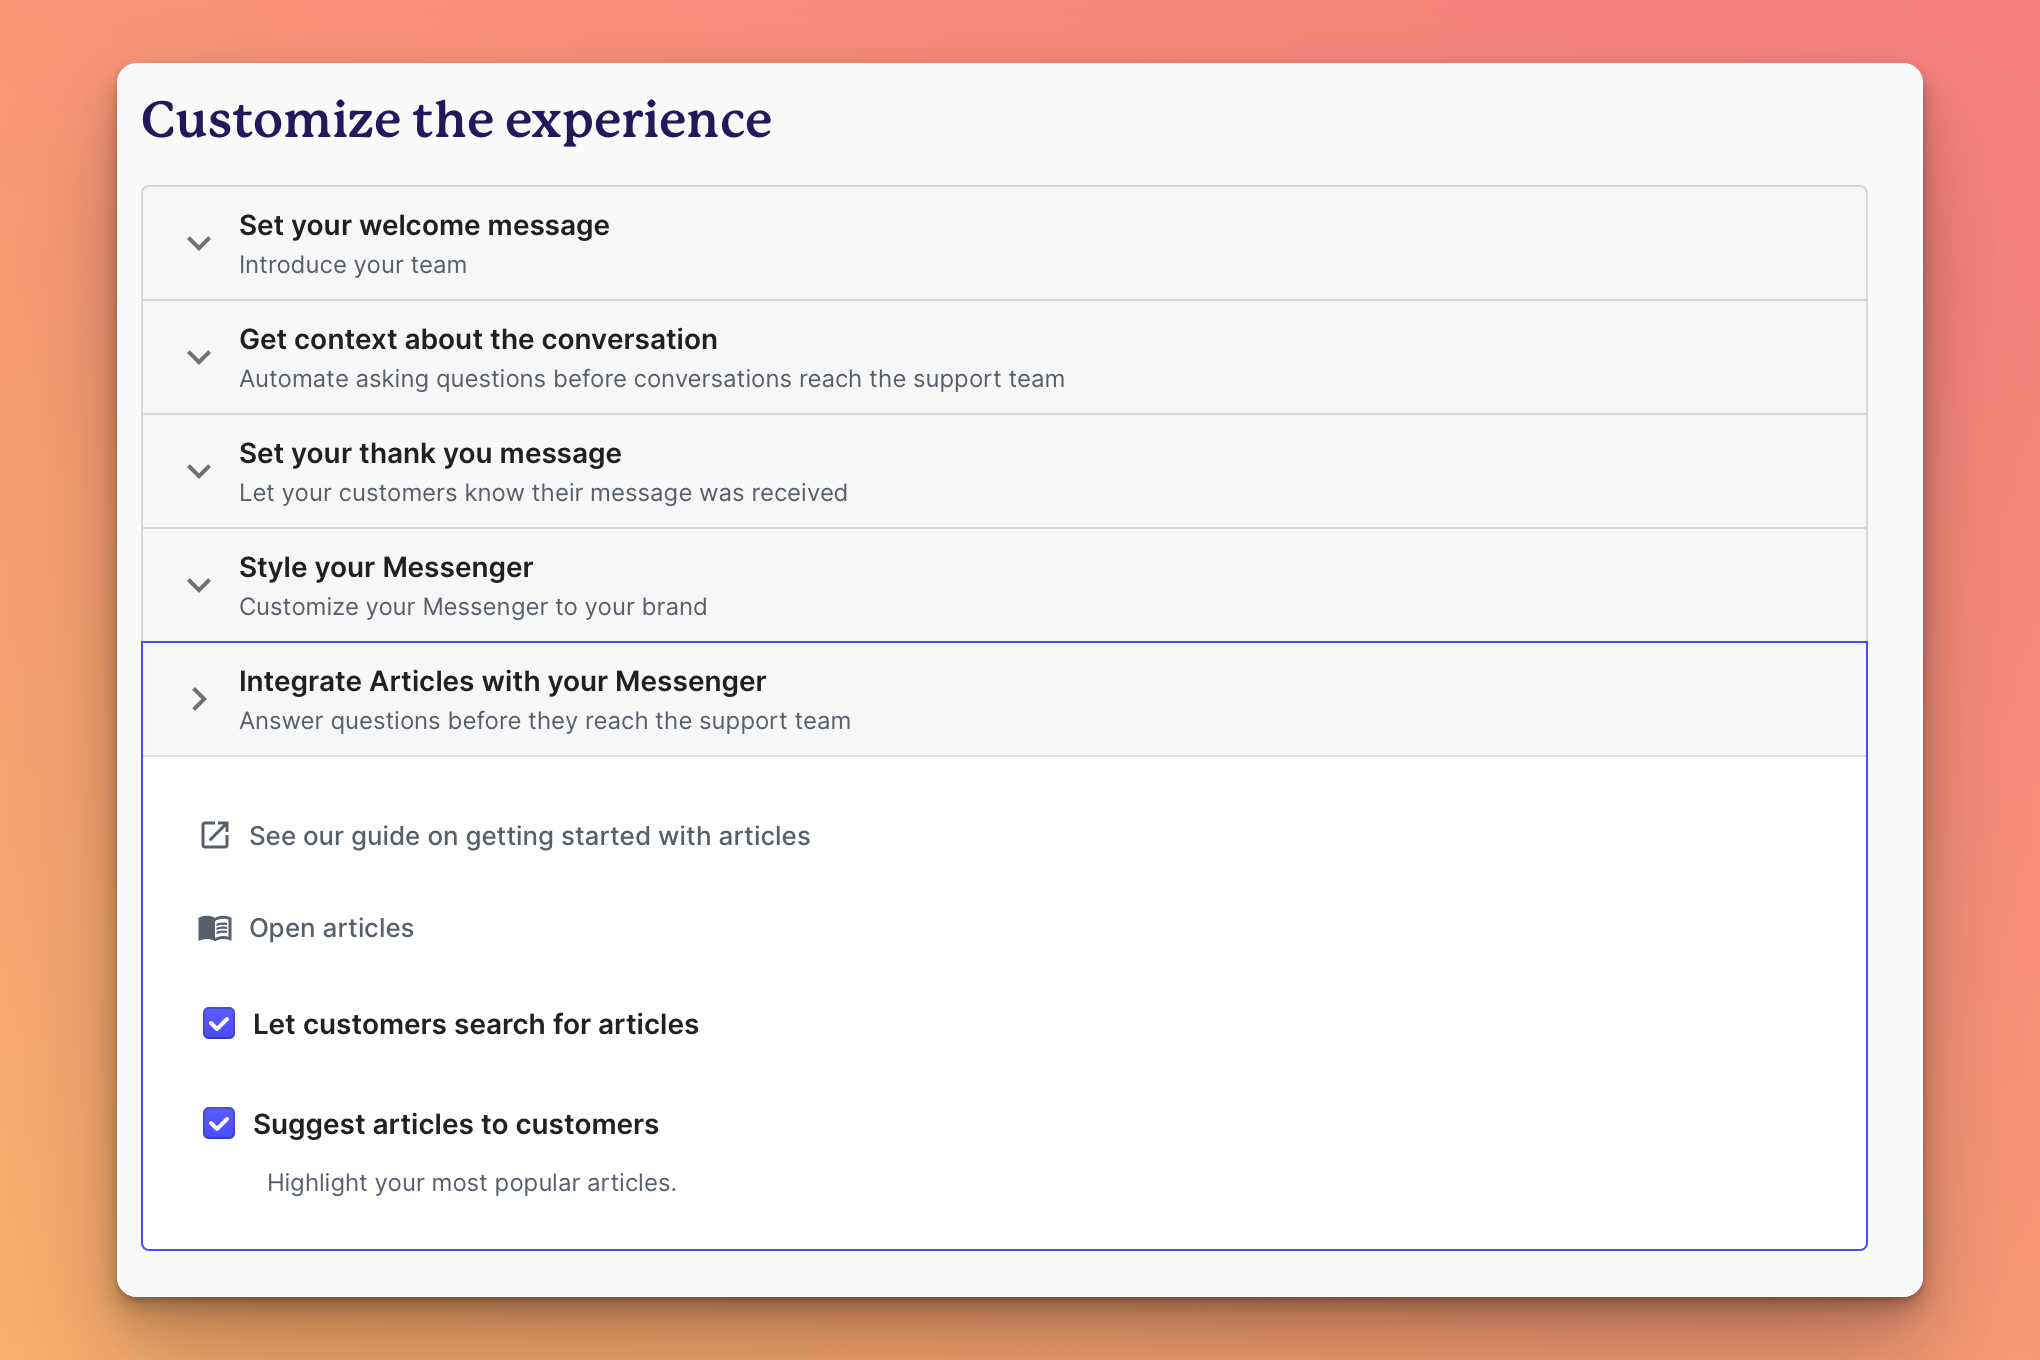
To enable articles on your Messenger, you must toggle the integration:
Article settings for Messenger integration
You of course need to create some articles for these to show on your Messenger, navigate to articles from your Messenger settings page and create one.
By default, articles are saved in a 'draft' state. When they are draft, they won't be shown on your Messenger.
You can move articles between published and draft at any time.
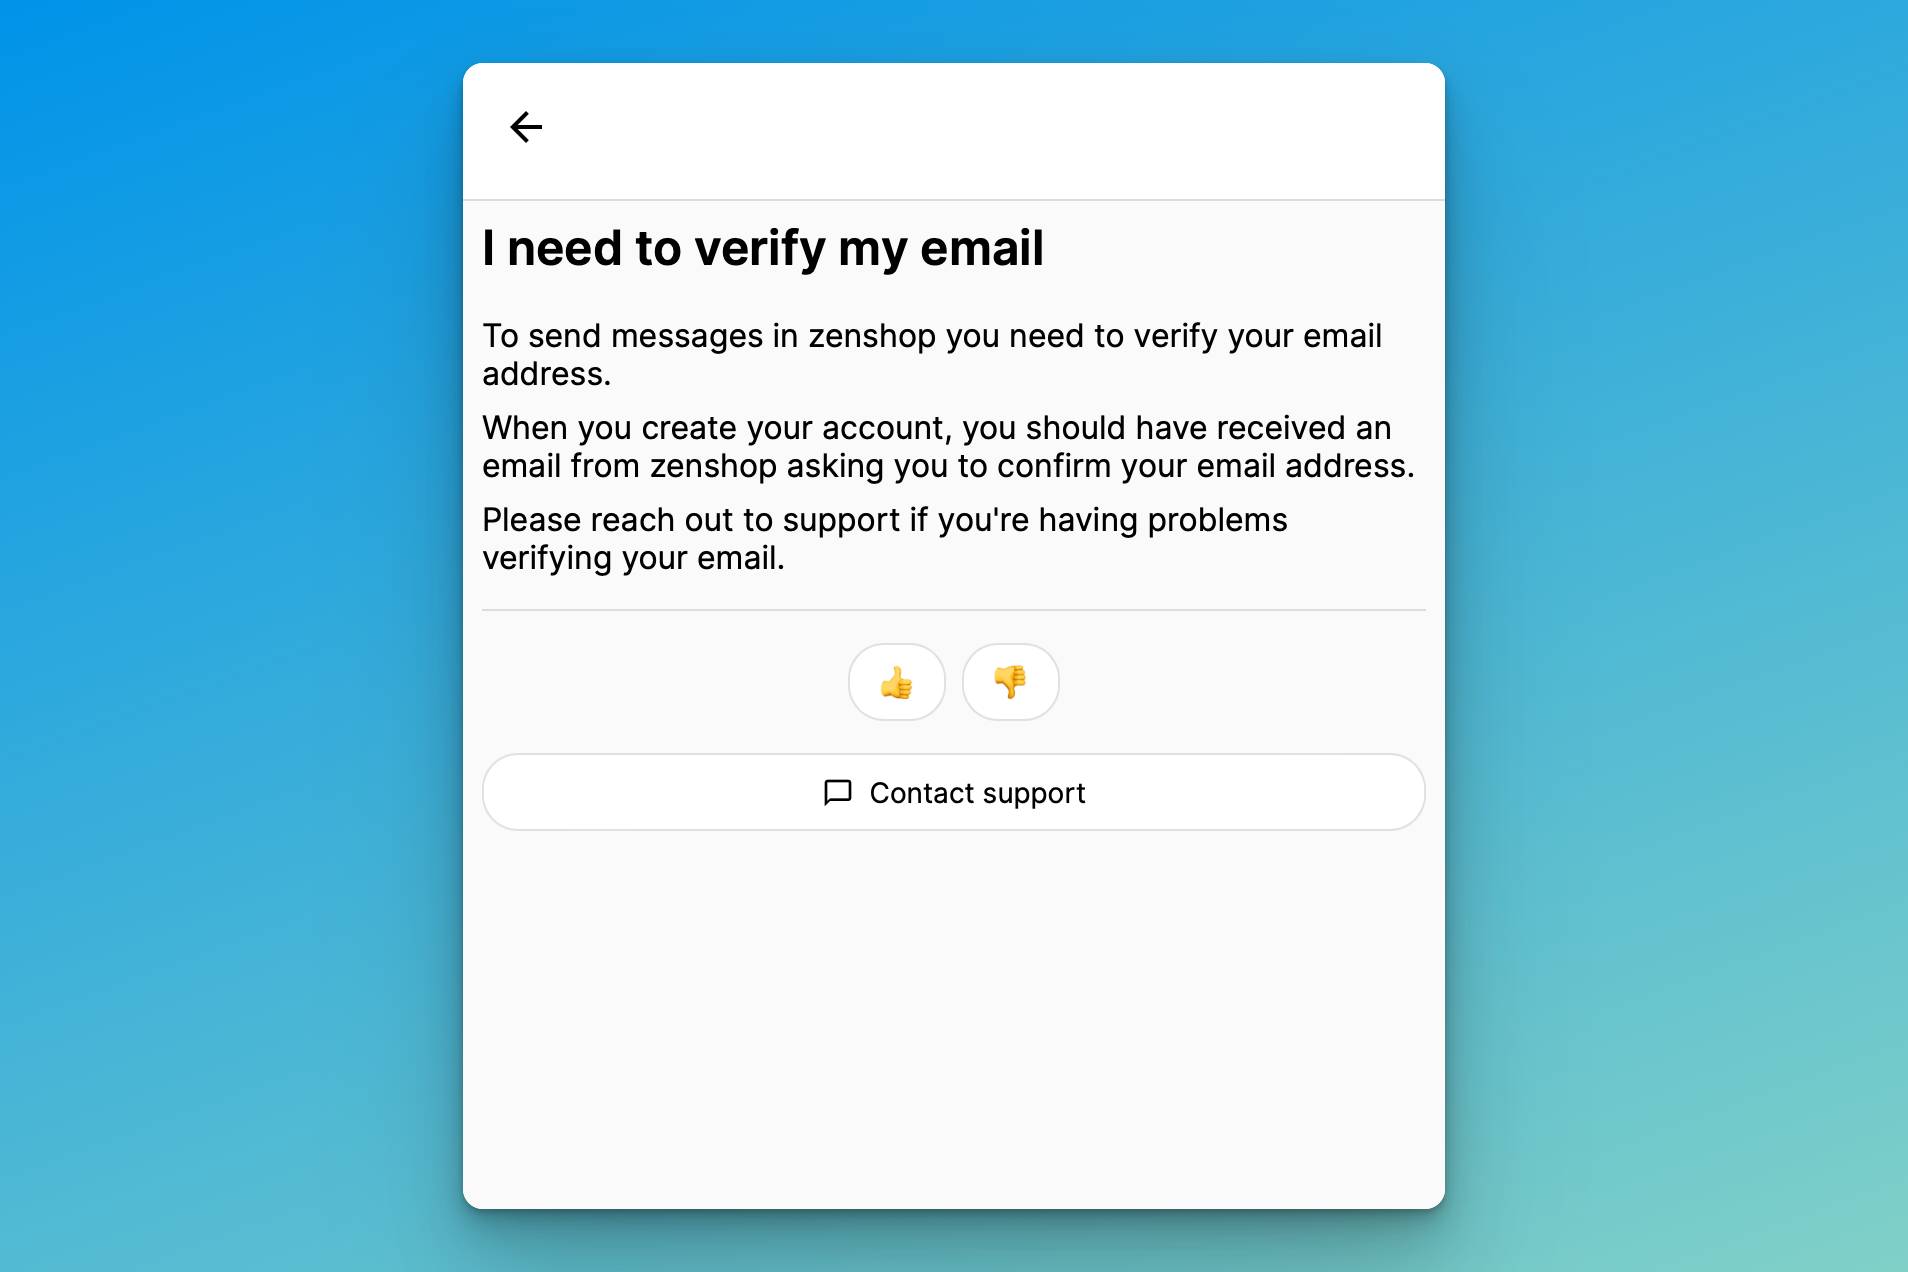
Editing an article
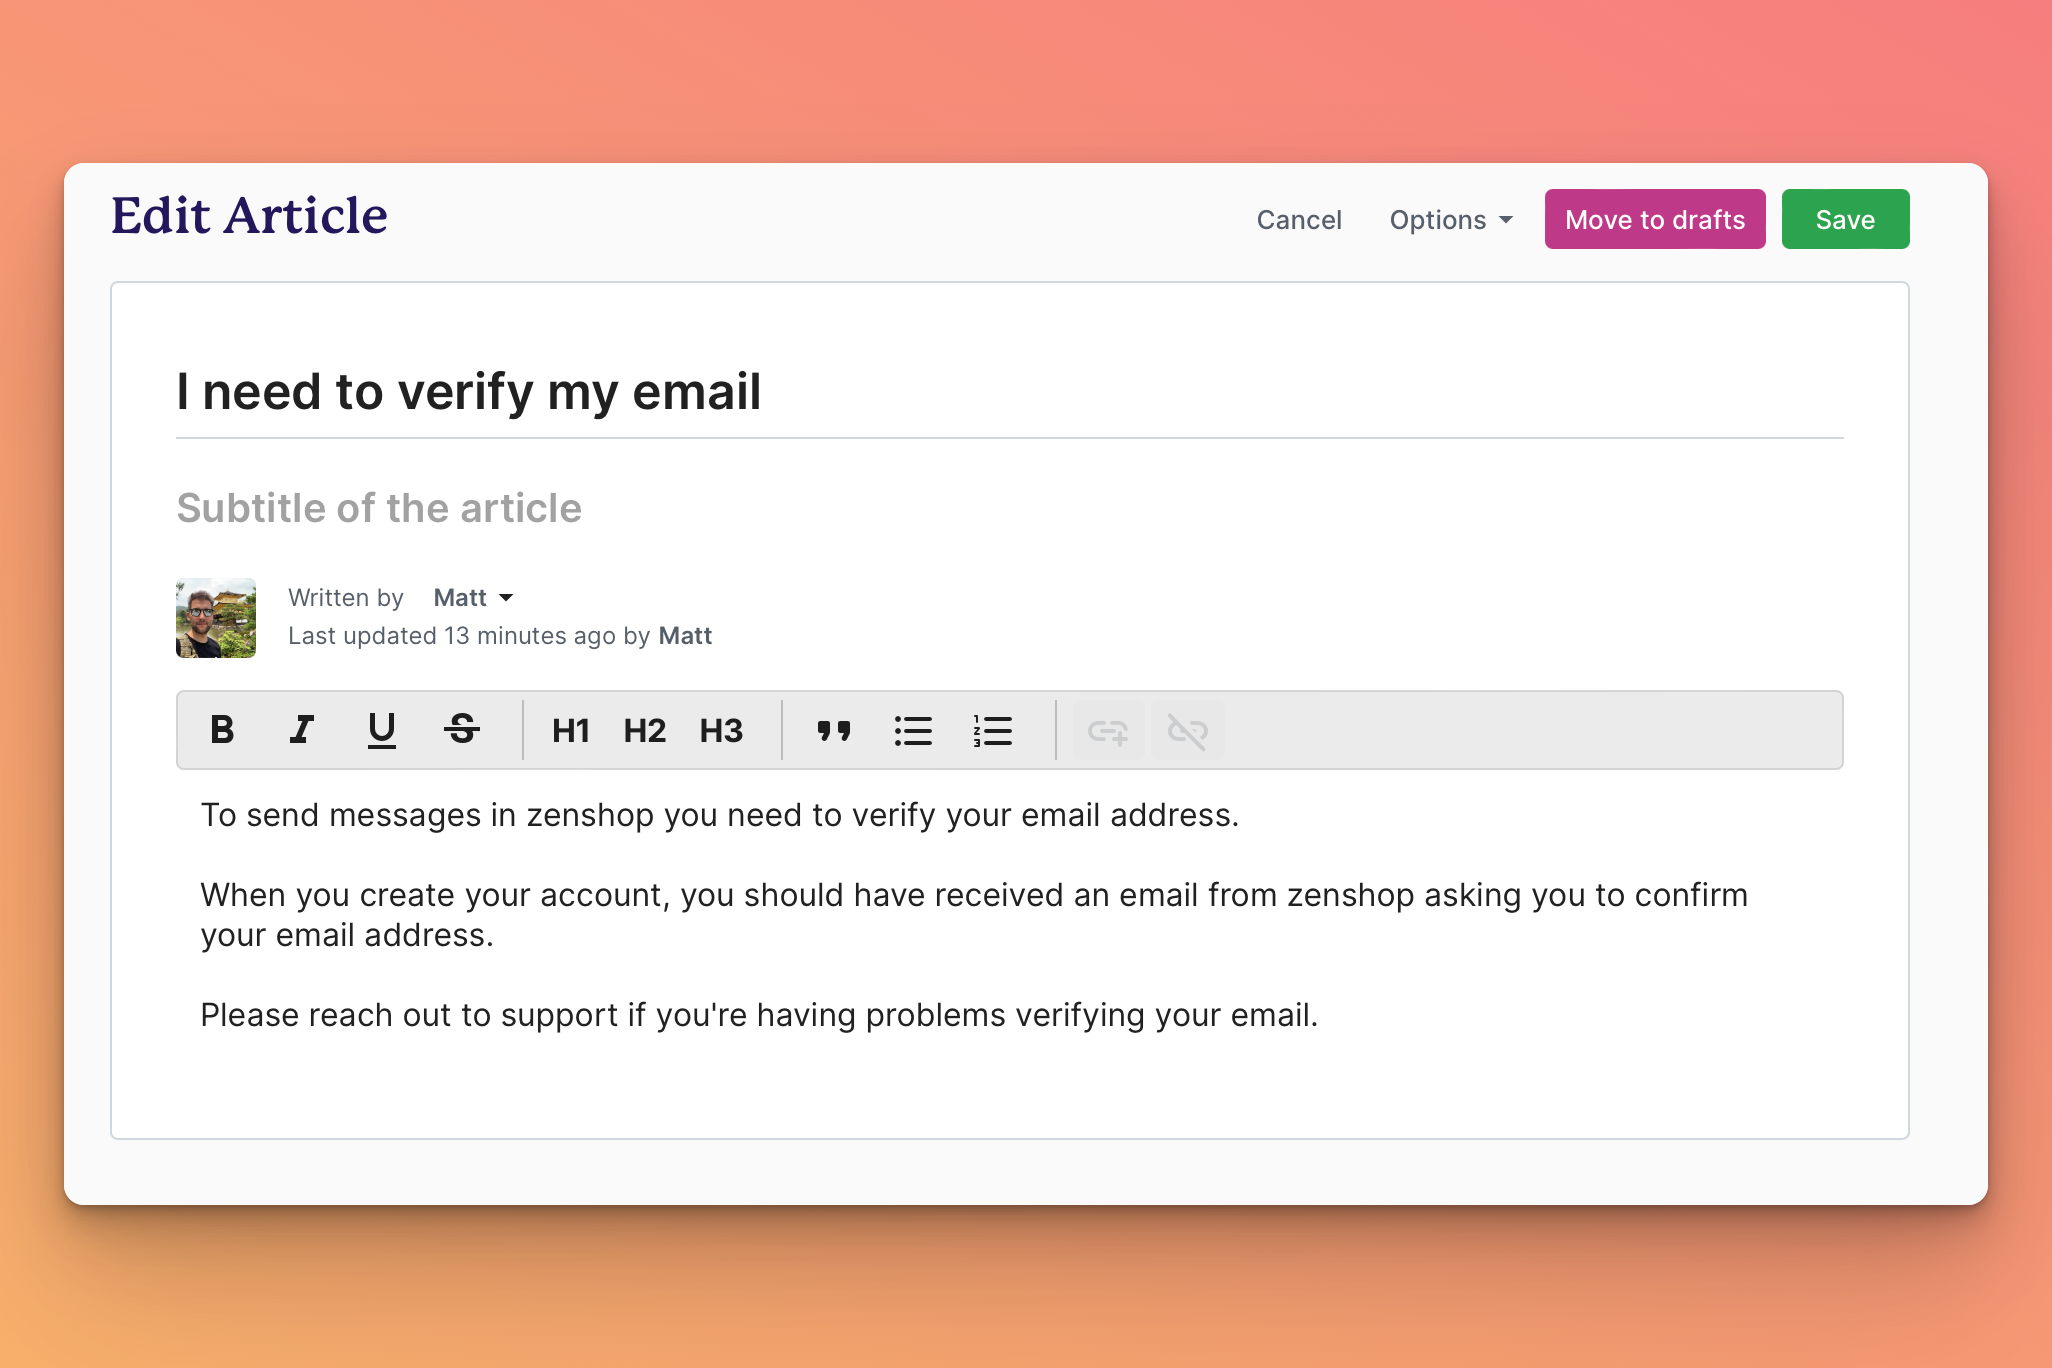
We recommend keeping article length short and to the point, create many small articles to address common questions, than a few articles that target lots of questions.
Use keyboard shortcuts
zenshop is being optimised for fast desktop usage, including the use of keyboard shortcuts, these are only available on the macOS and Windows Apps.
An example of the keyboard shortcuts available on macOS
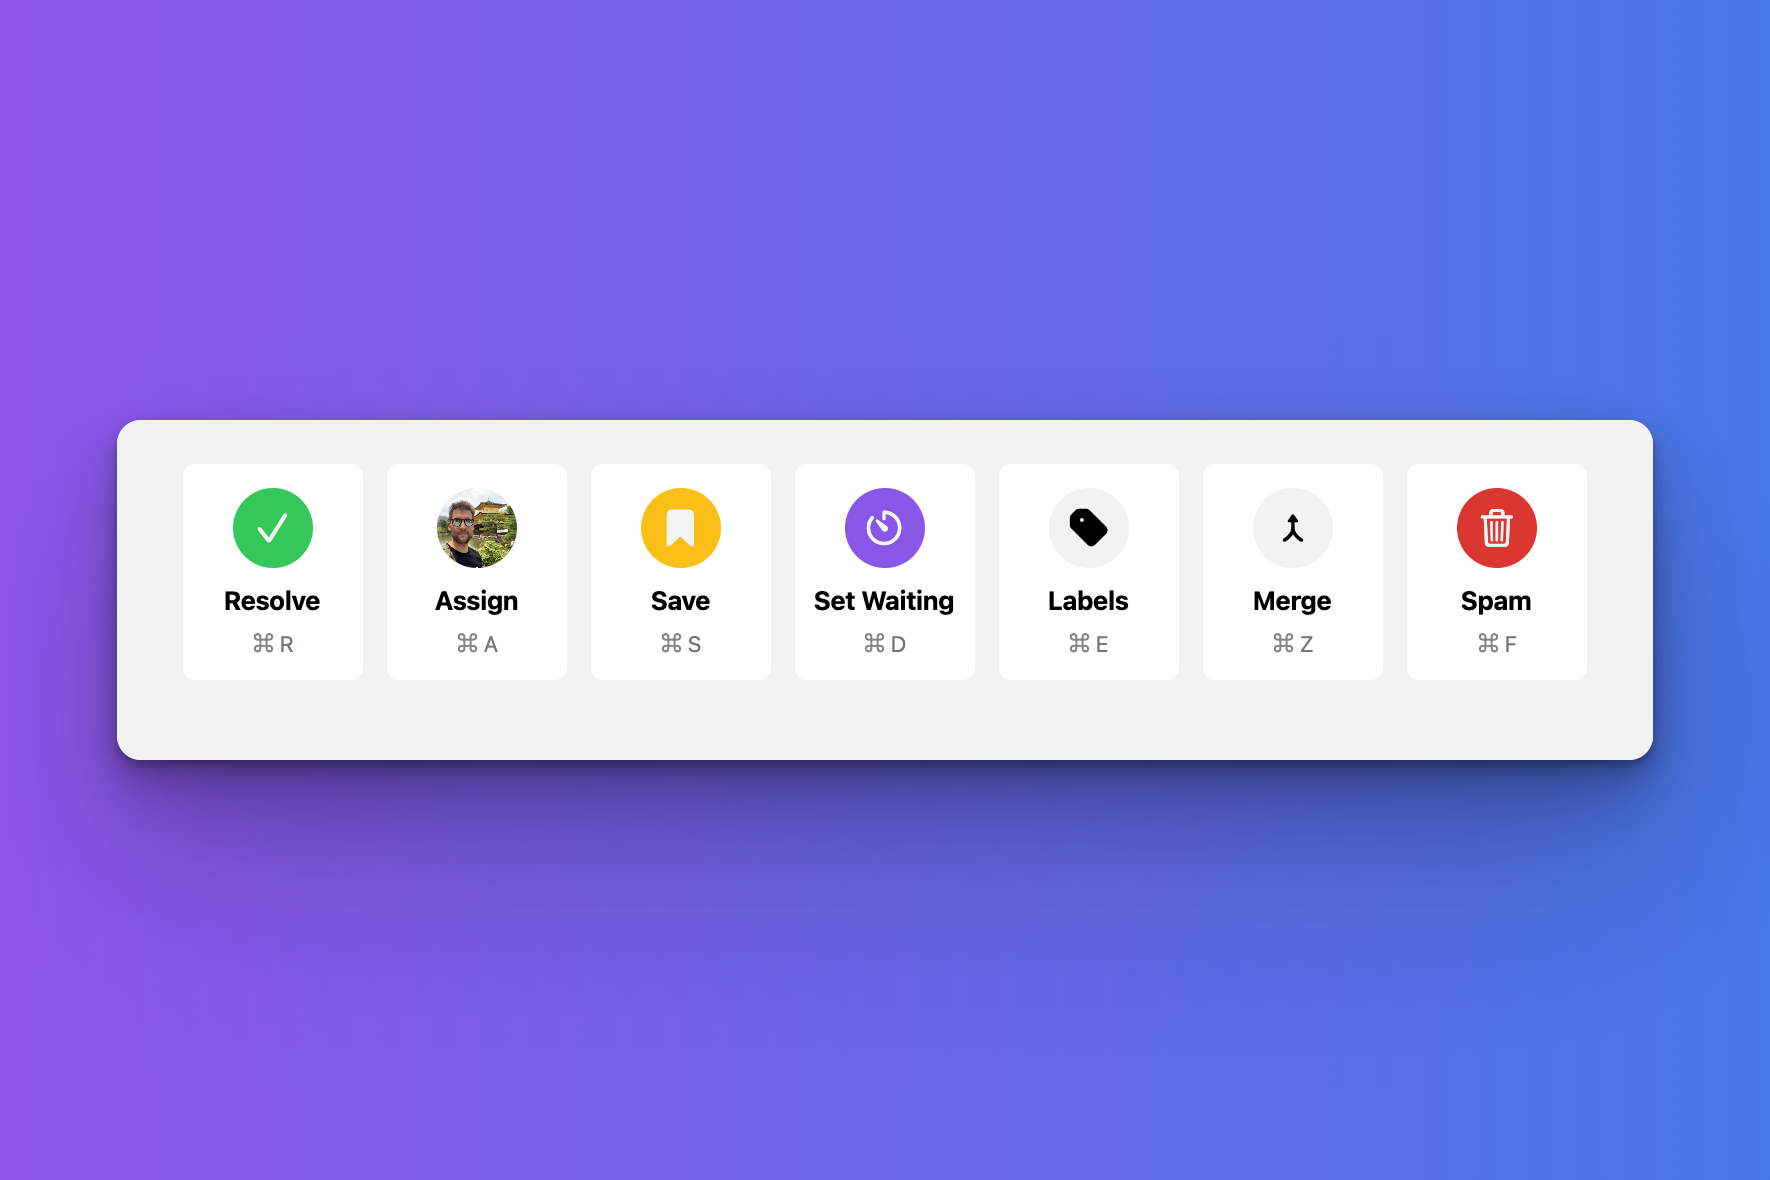
The shortcuts available are hinted to underneath the button, on Windows it is typically using the Ctrl key and on macOS it's Command key.
Organizing your inbox
zenshop supports a variety of ways to organize your inbox, especially tailored to Shopify entrepreneurs.
- See at a glance Shopify order information.
- Tag with labels to categorize the conversation.
- Use saved searches to create a view of your conversations.
However, even if you can't find a good way to organize everything, zenshop has powerful search features.
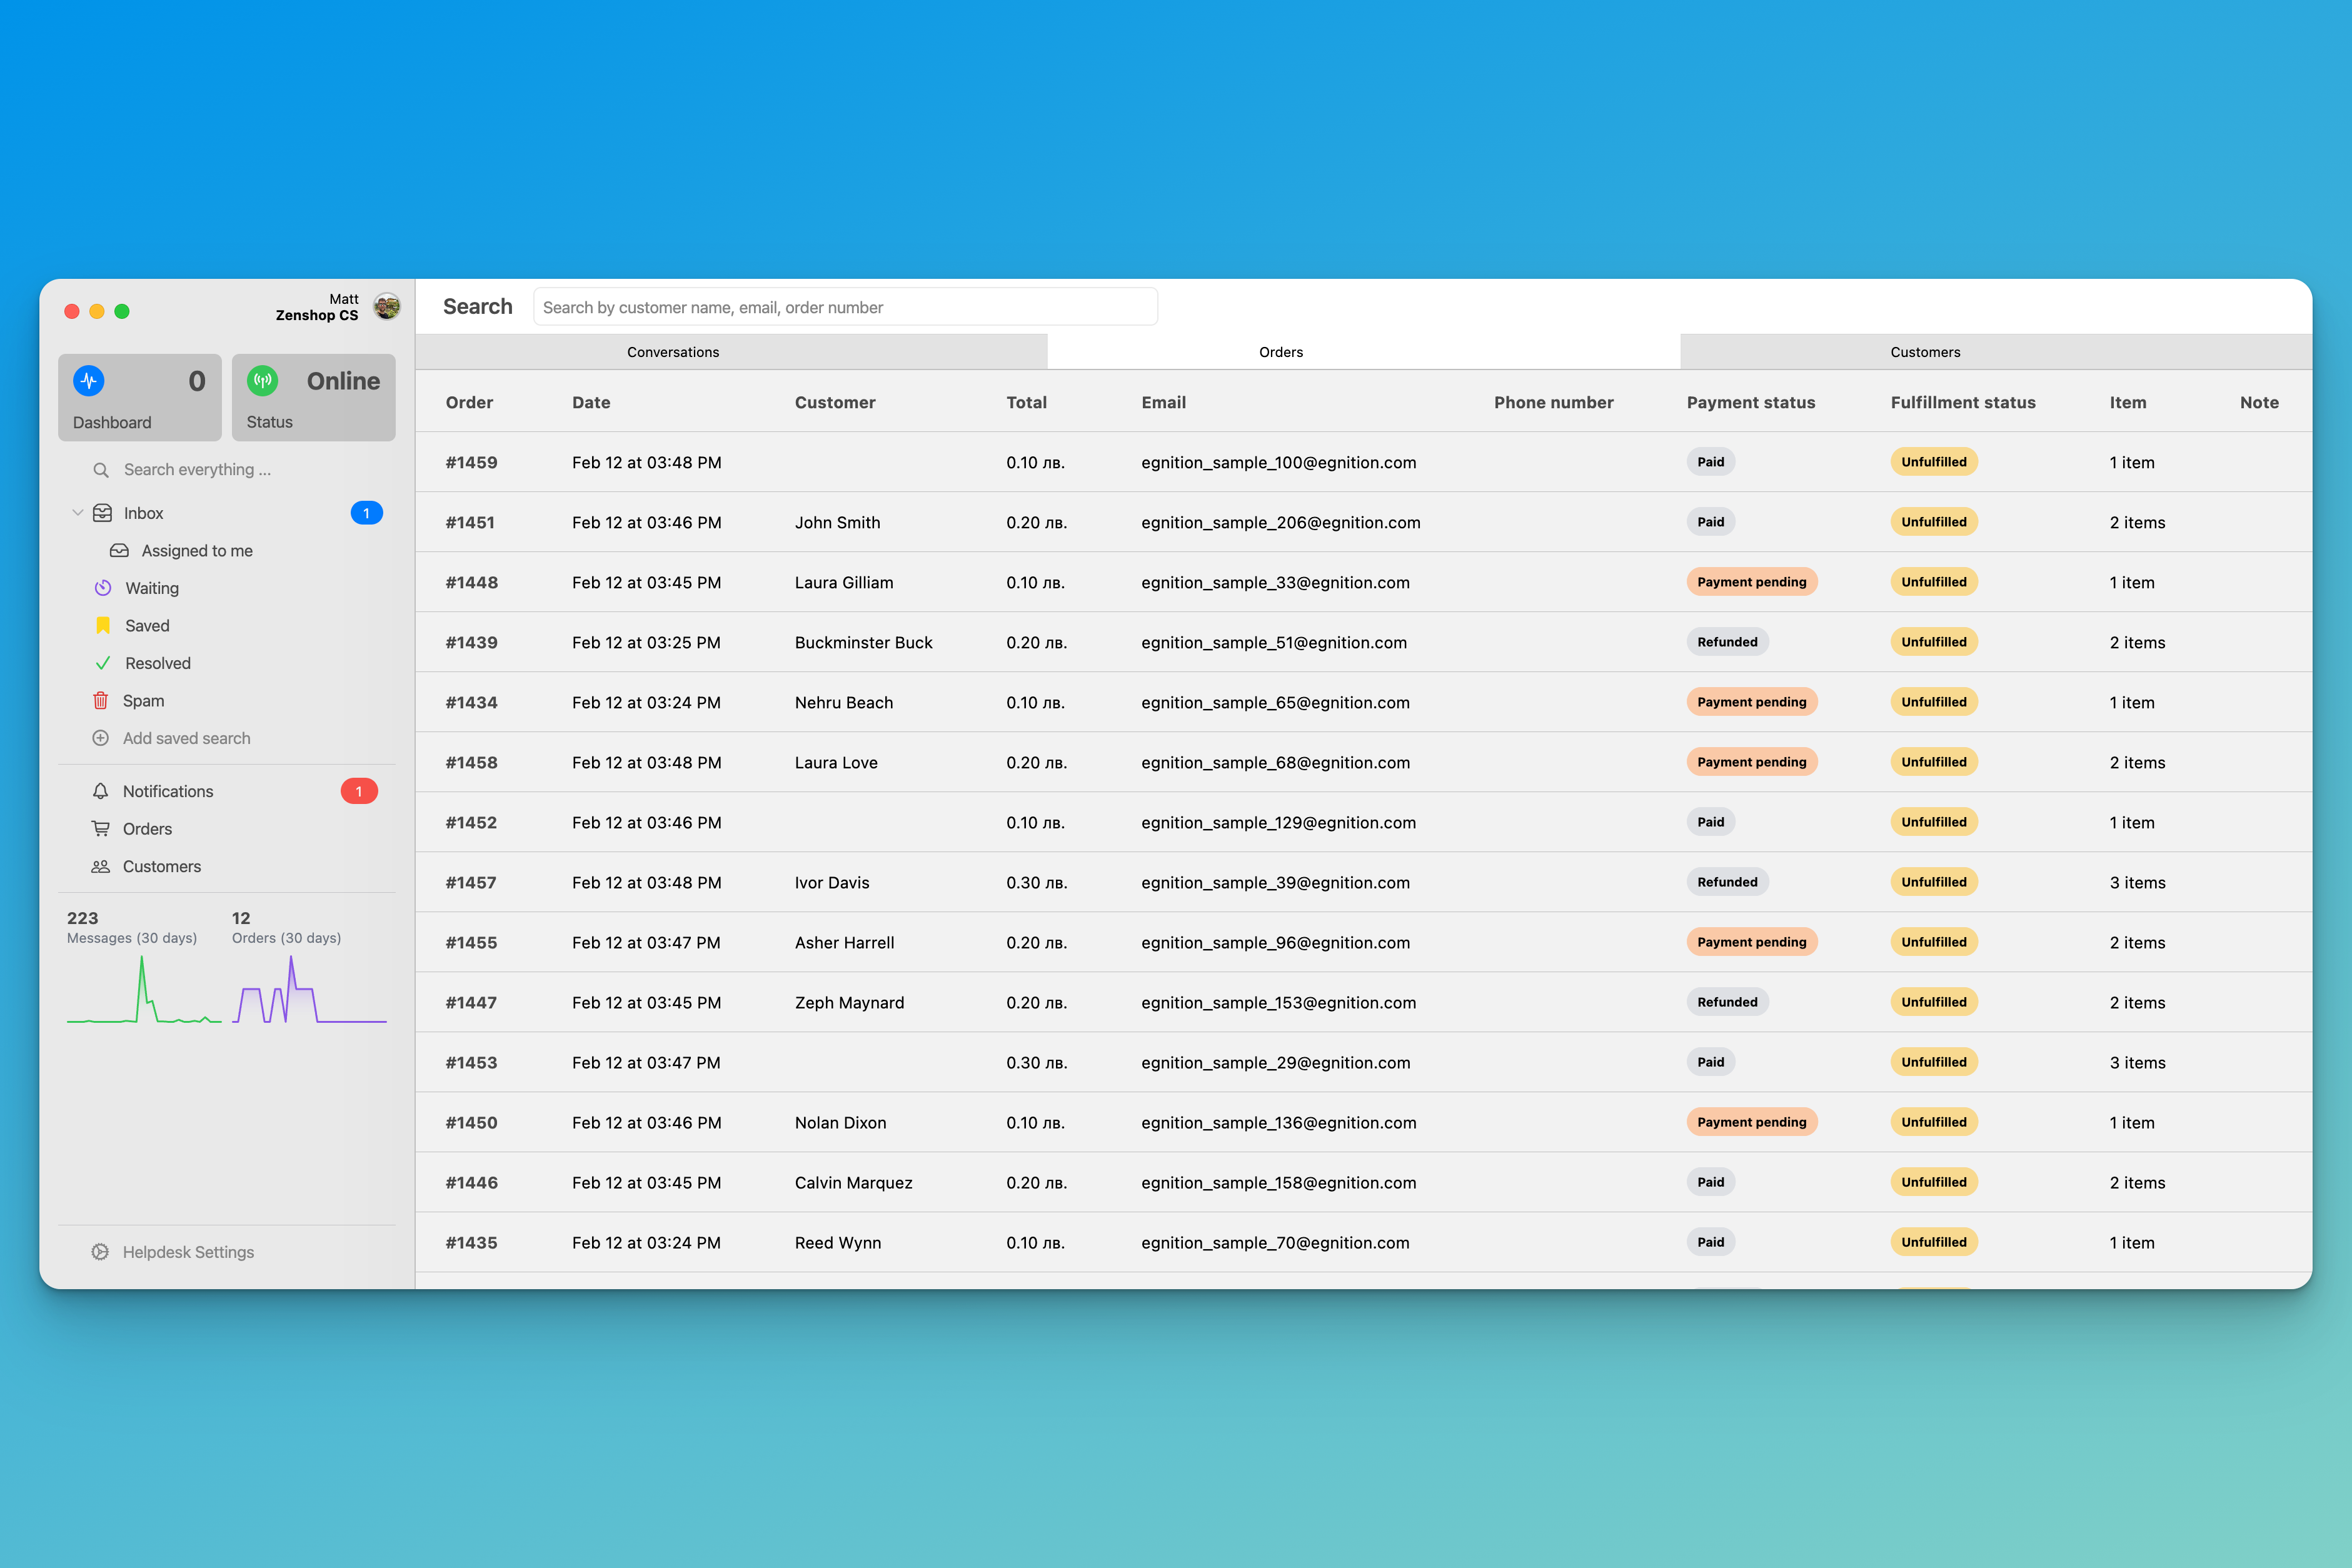
Using the "Search everything" in the main application sidebar, you'll have the option to search over your conversations, orders and customers directly.
zenshop searching conversations
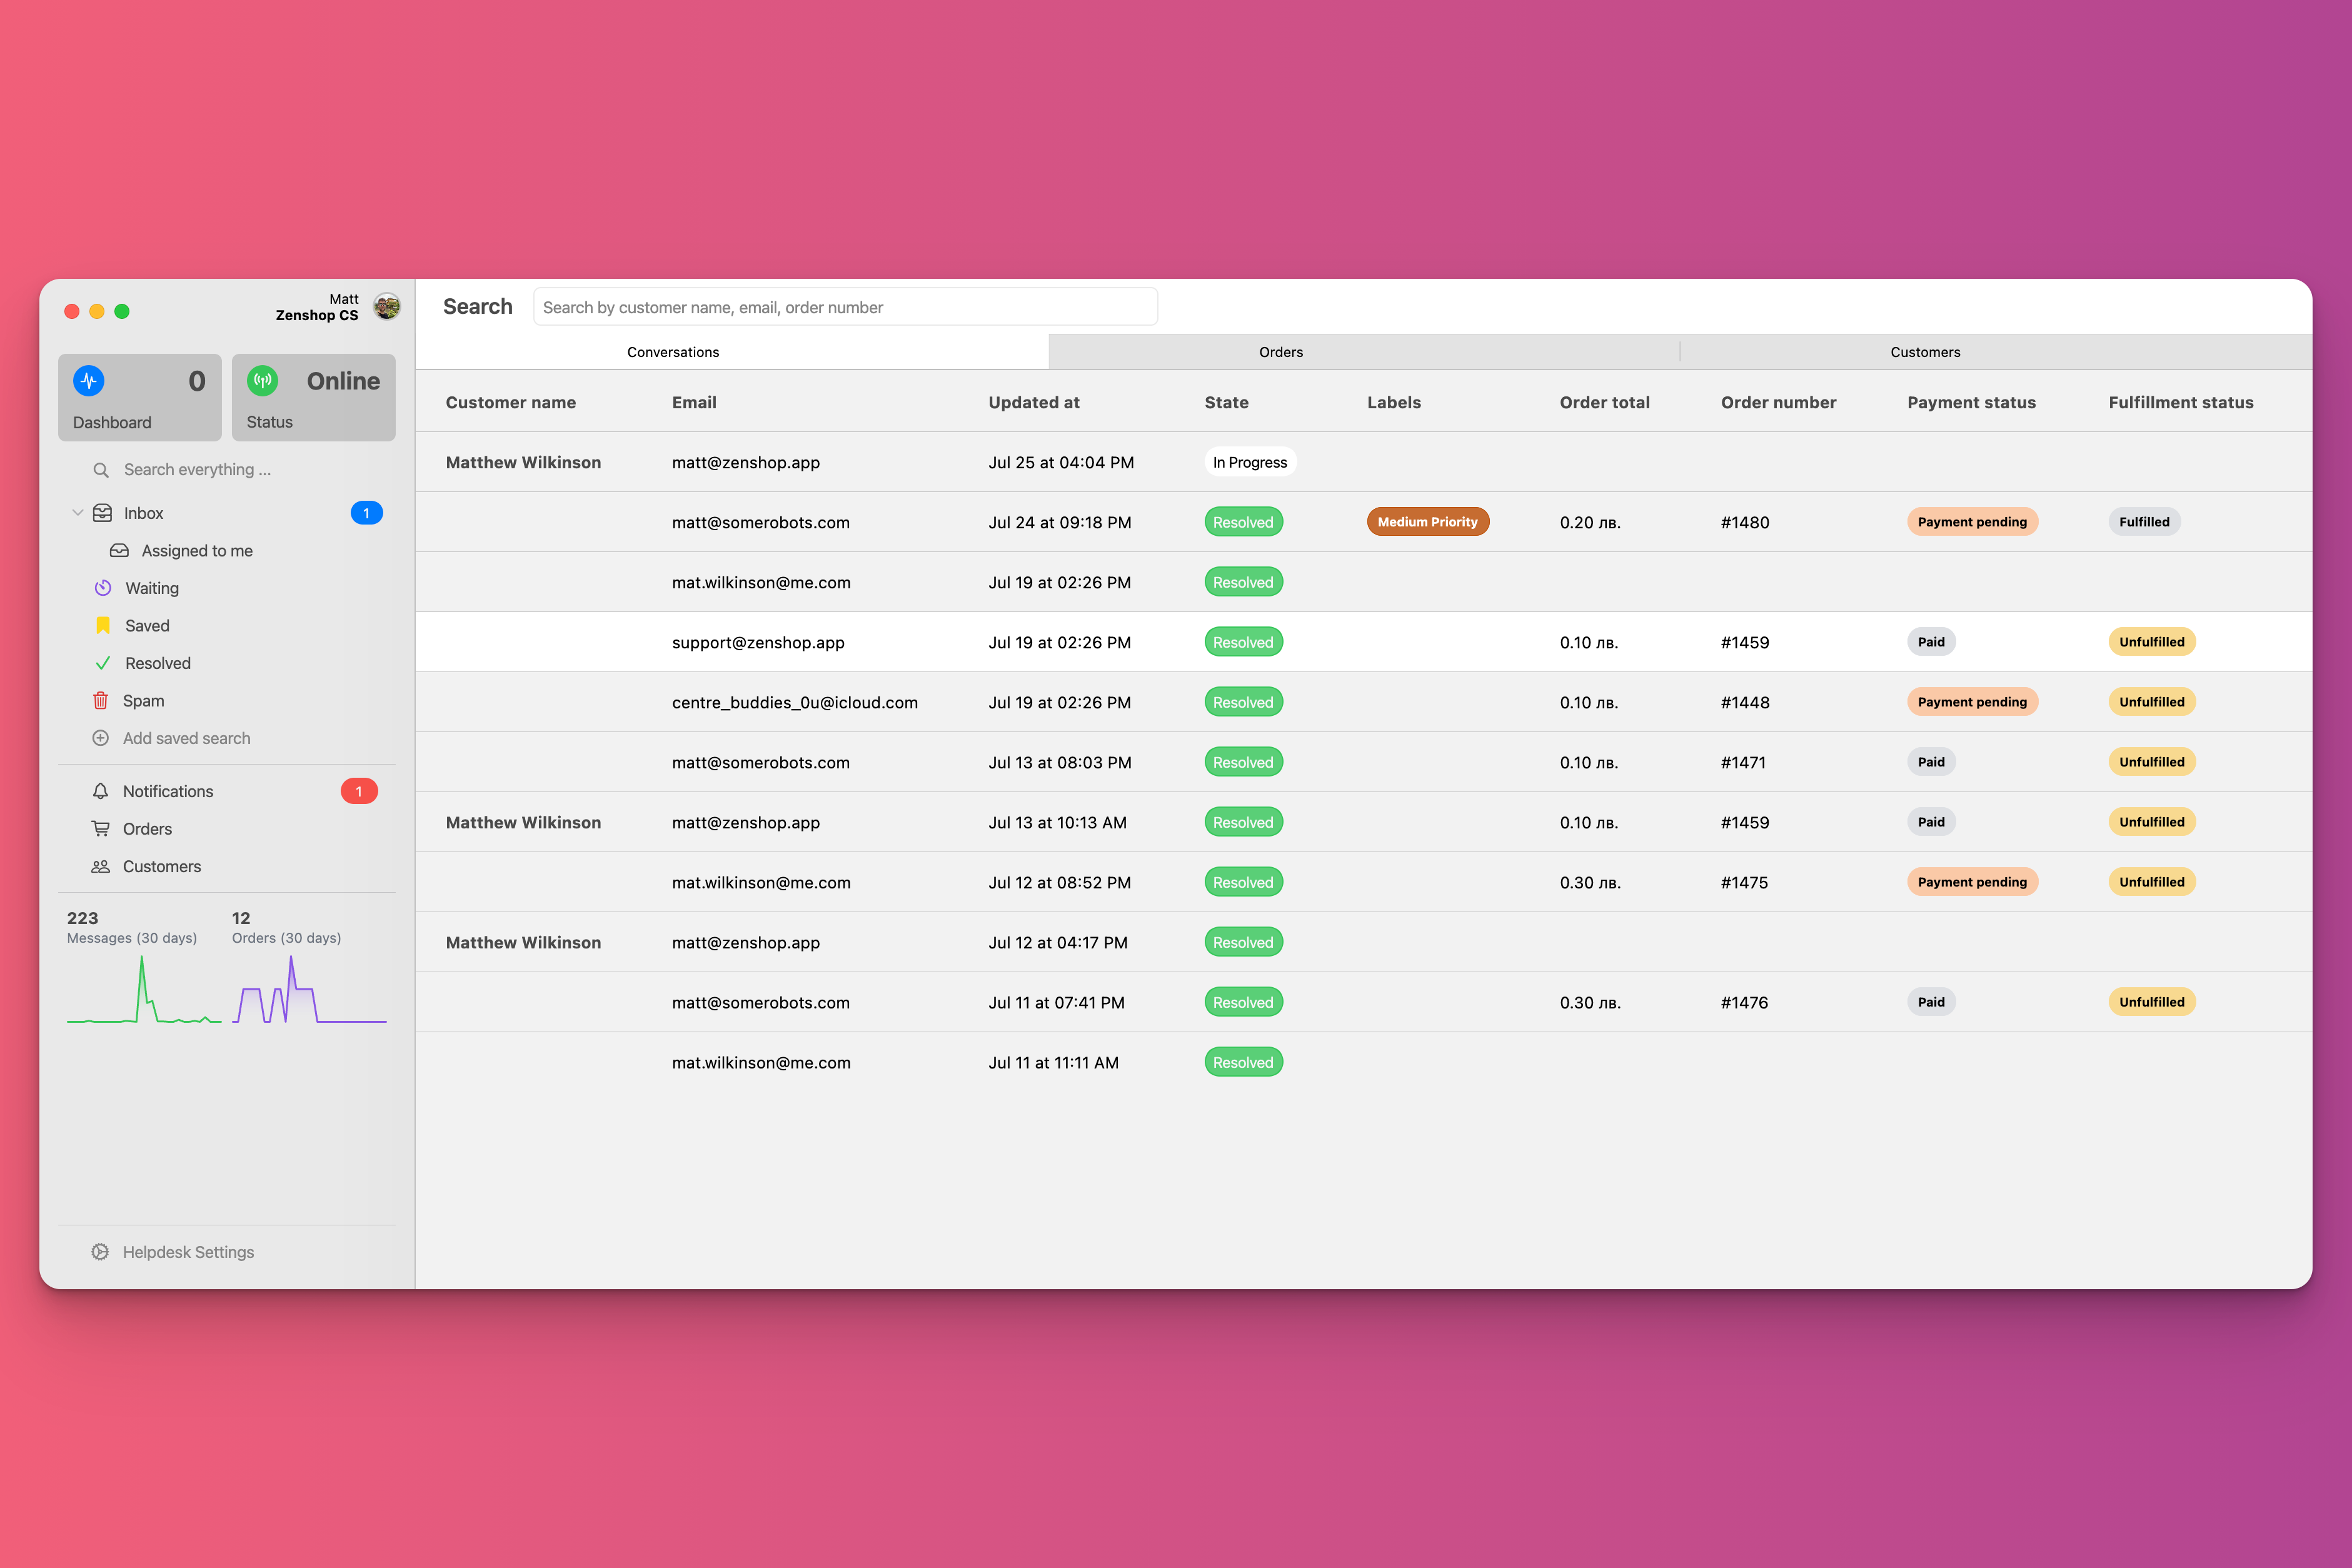
zenshop searching orders
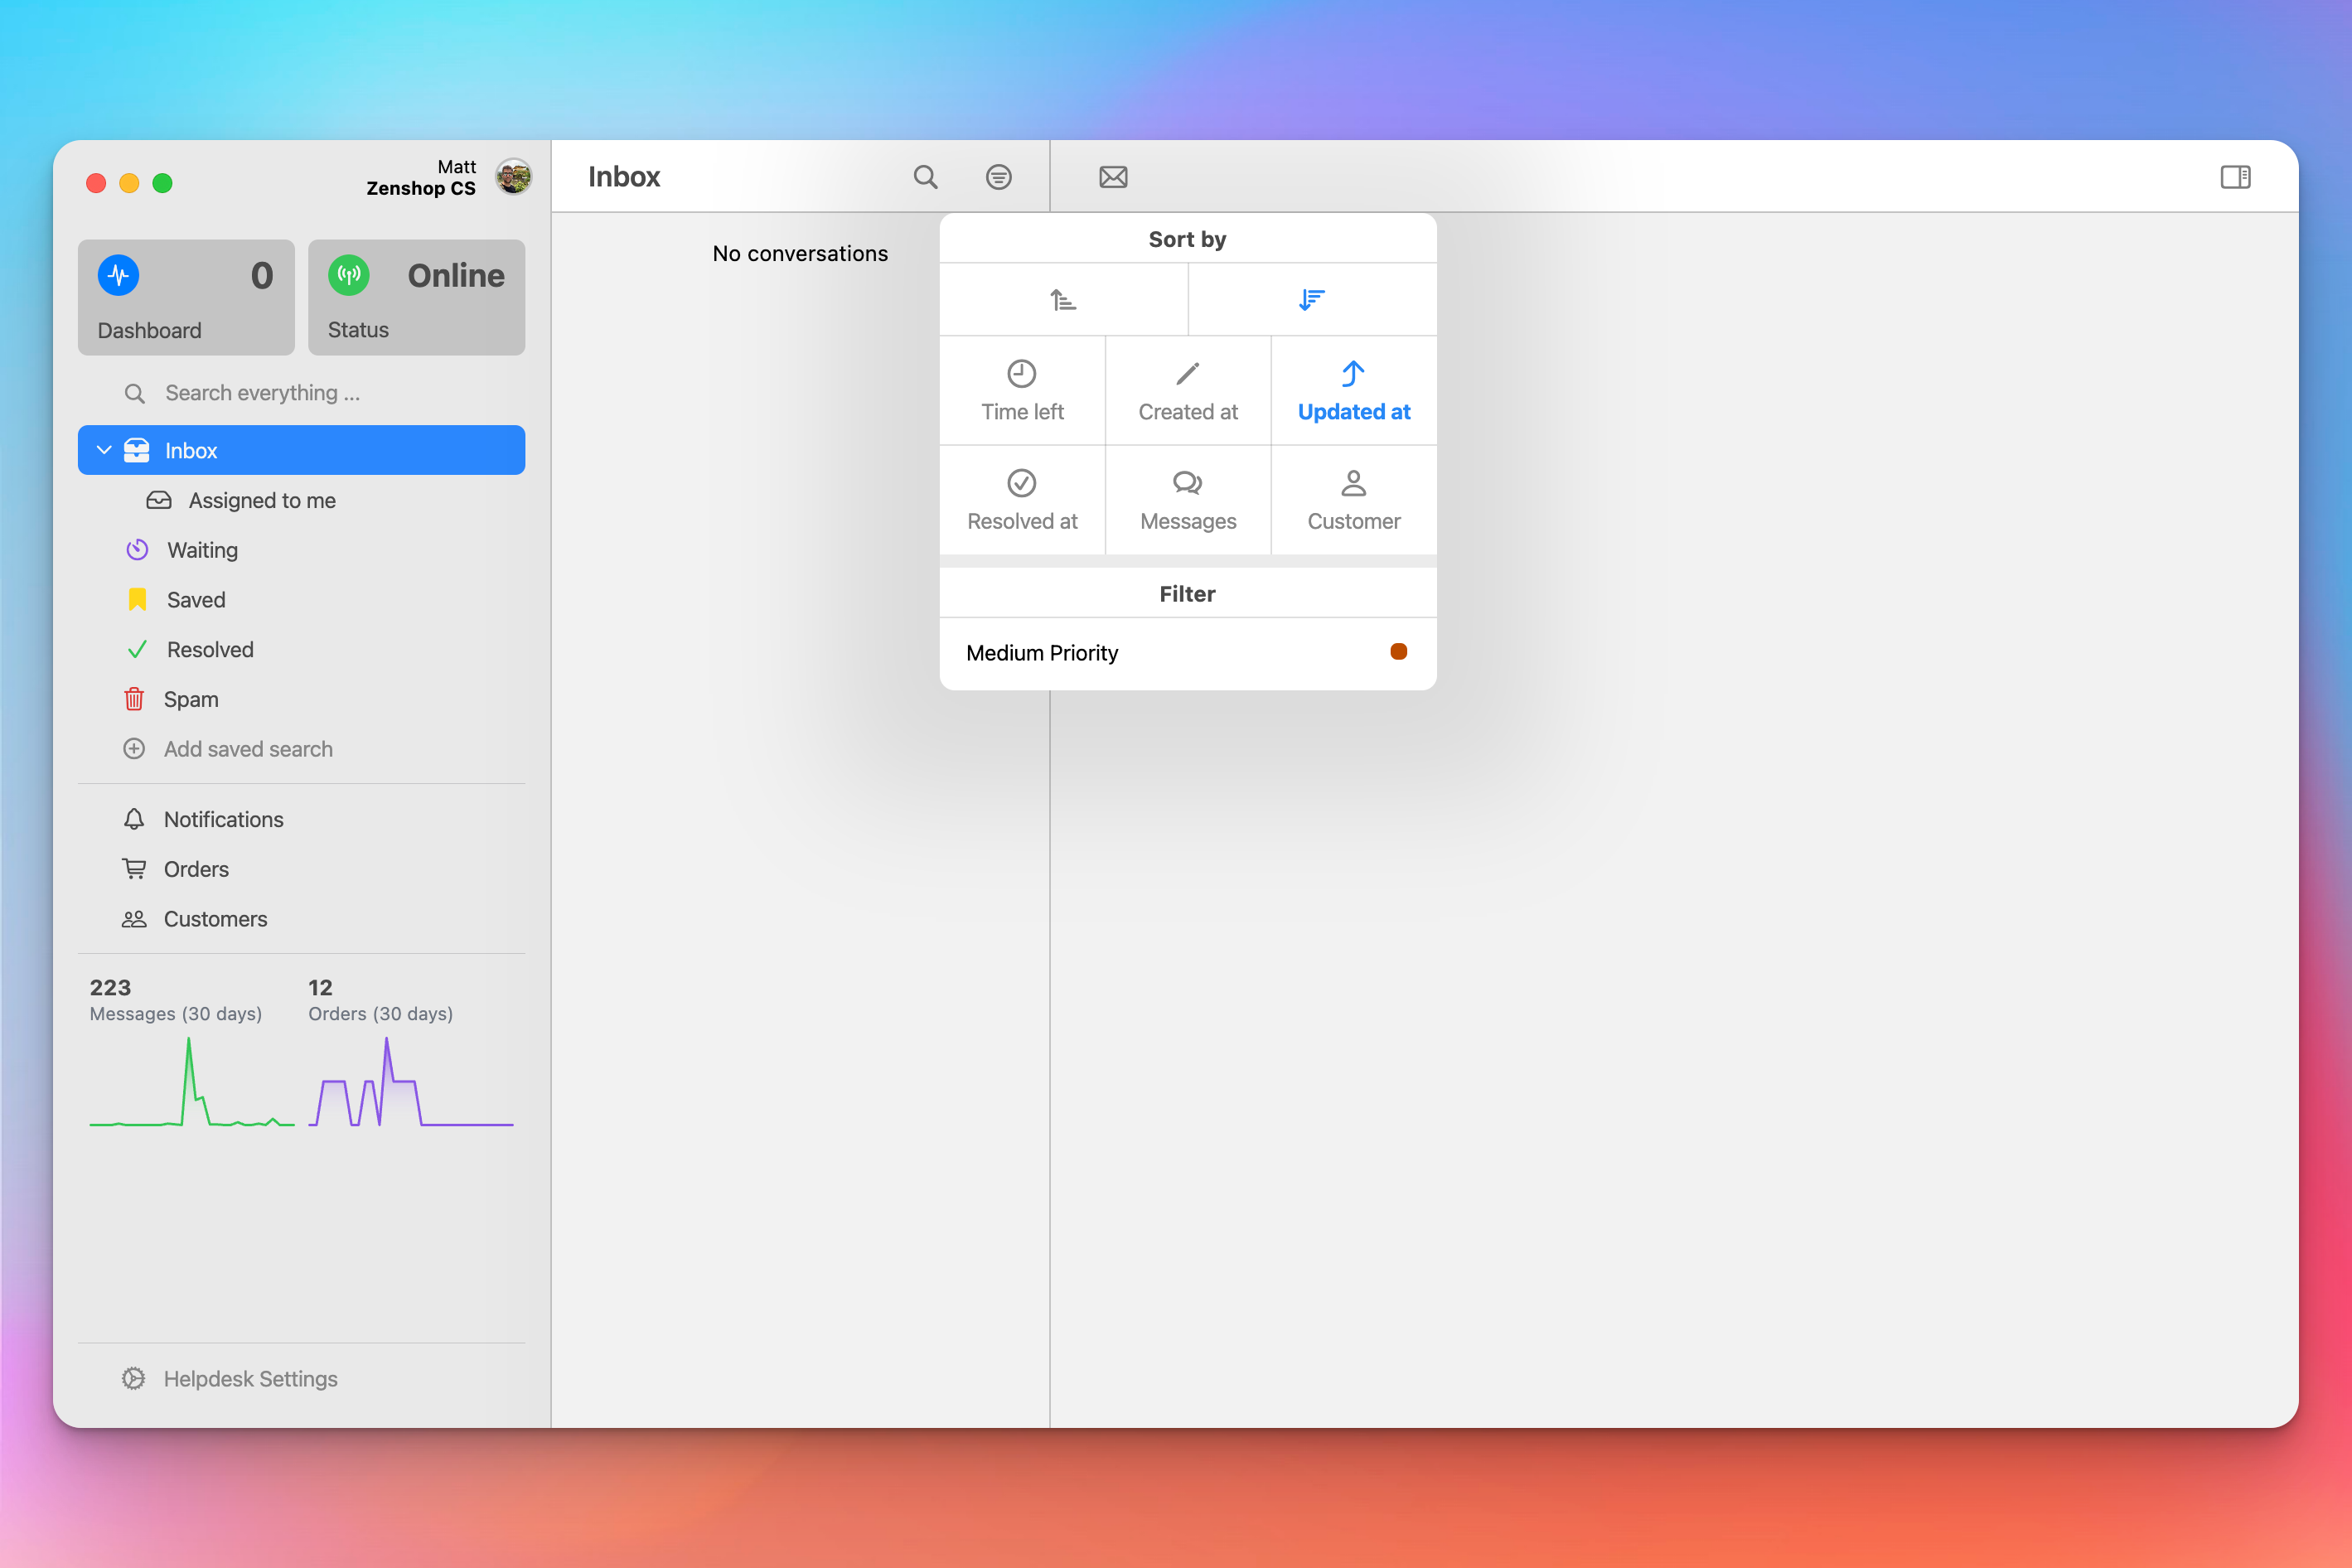
You can also sort and arange your conversations by toggling the filter button.
zenshop sorting conversations
Setup your labels to organize messages
Labels are the best way in zenshop to keep track of the type of conversation you're working with.
You can find your labels here (opens in a new tab) and you can create new ones tapping the + button.
Labels are shared with the whole team, so keep them relevant as possible.
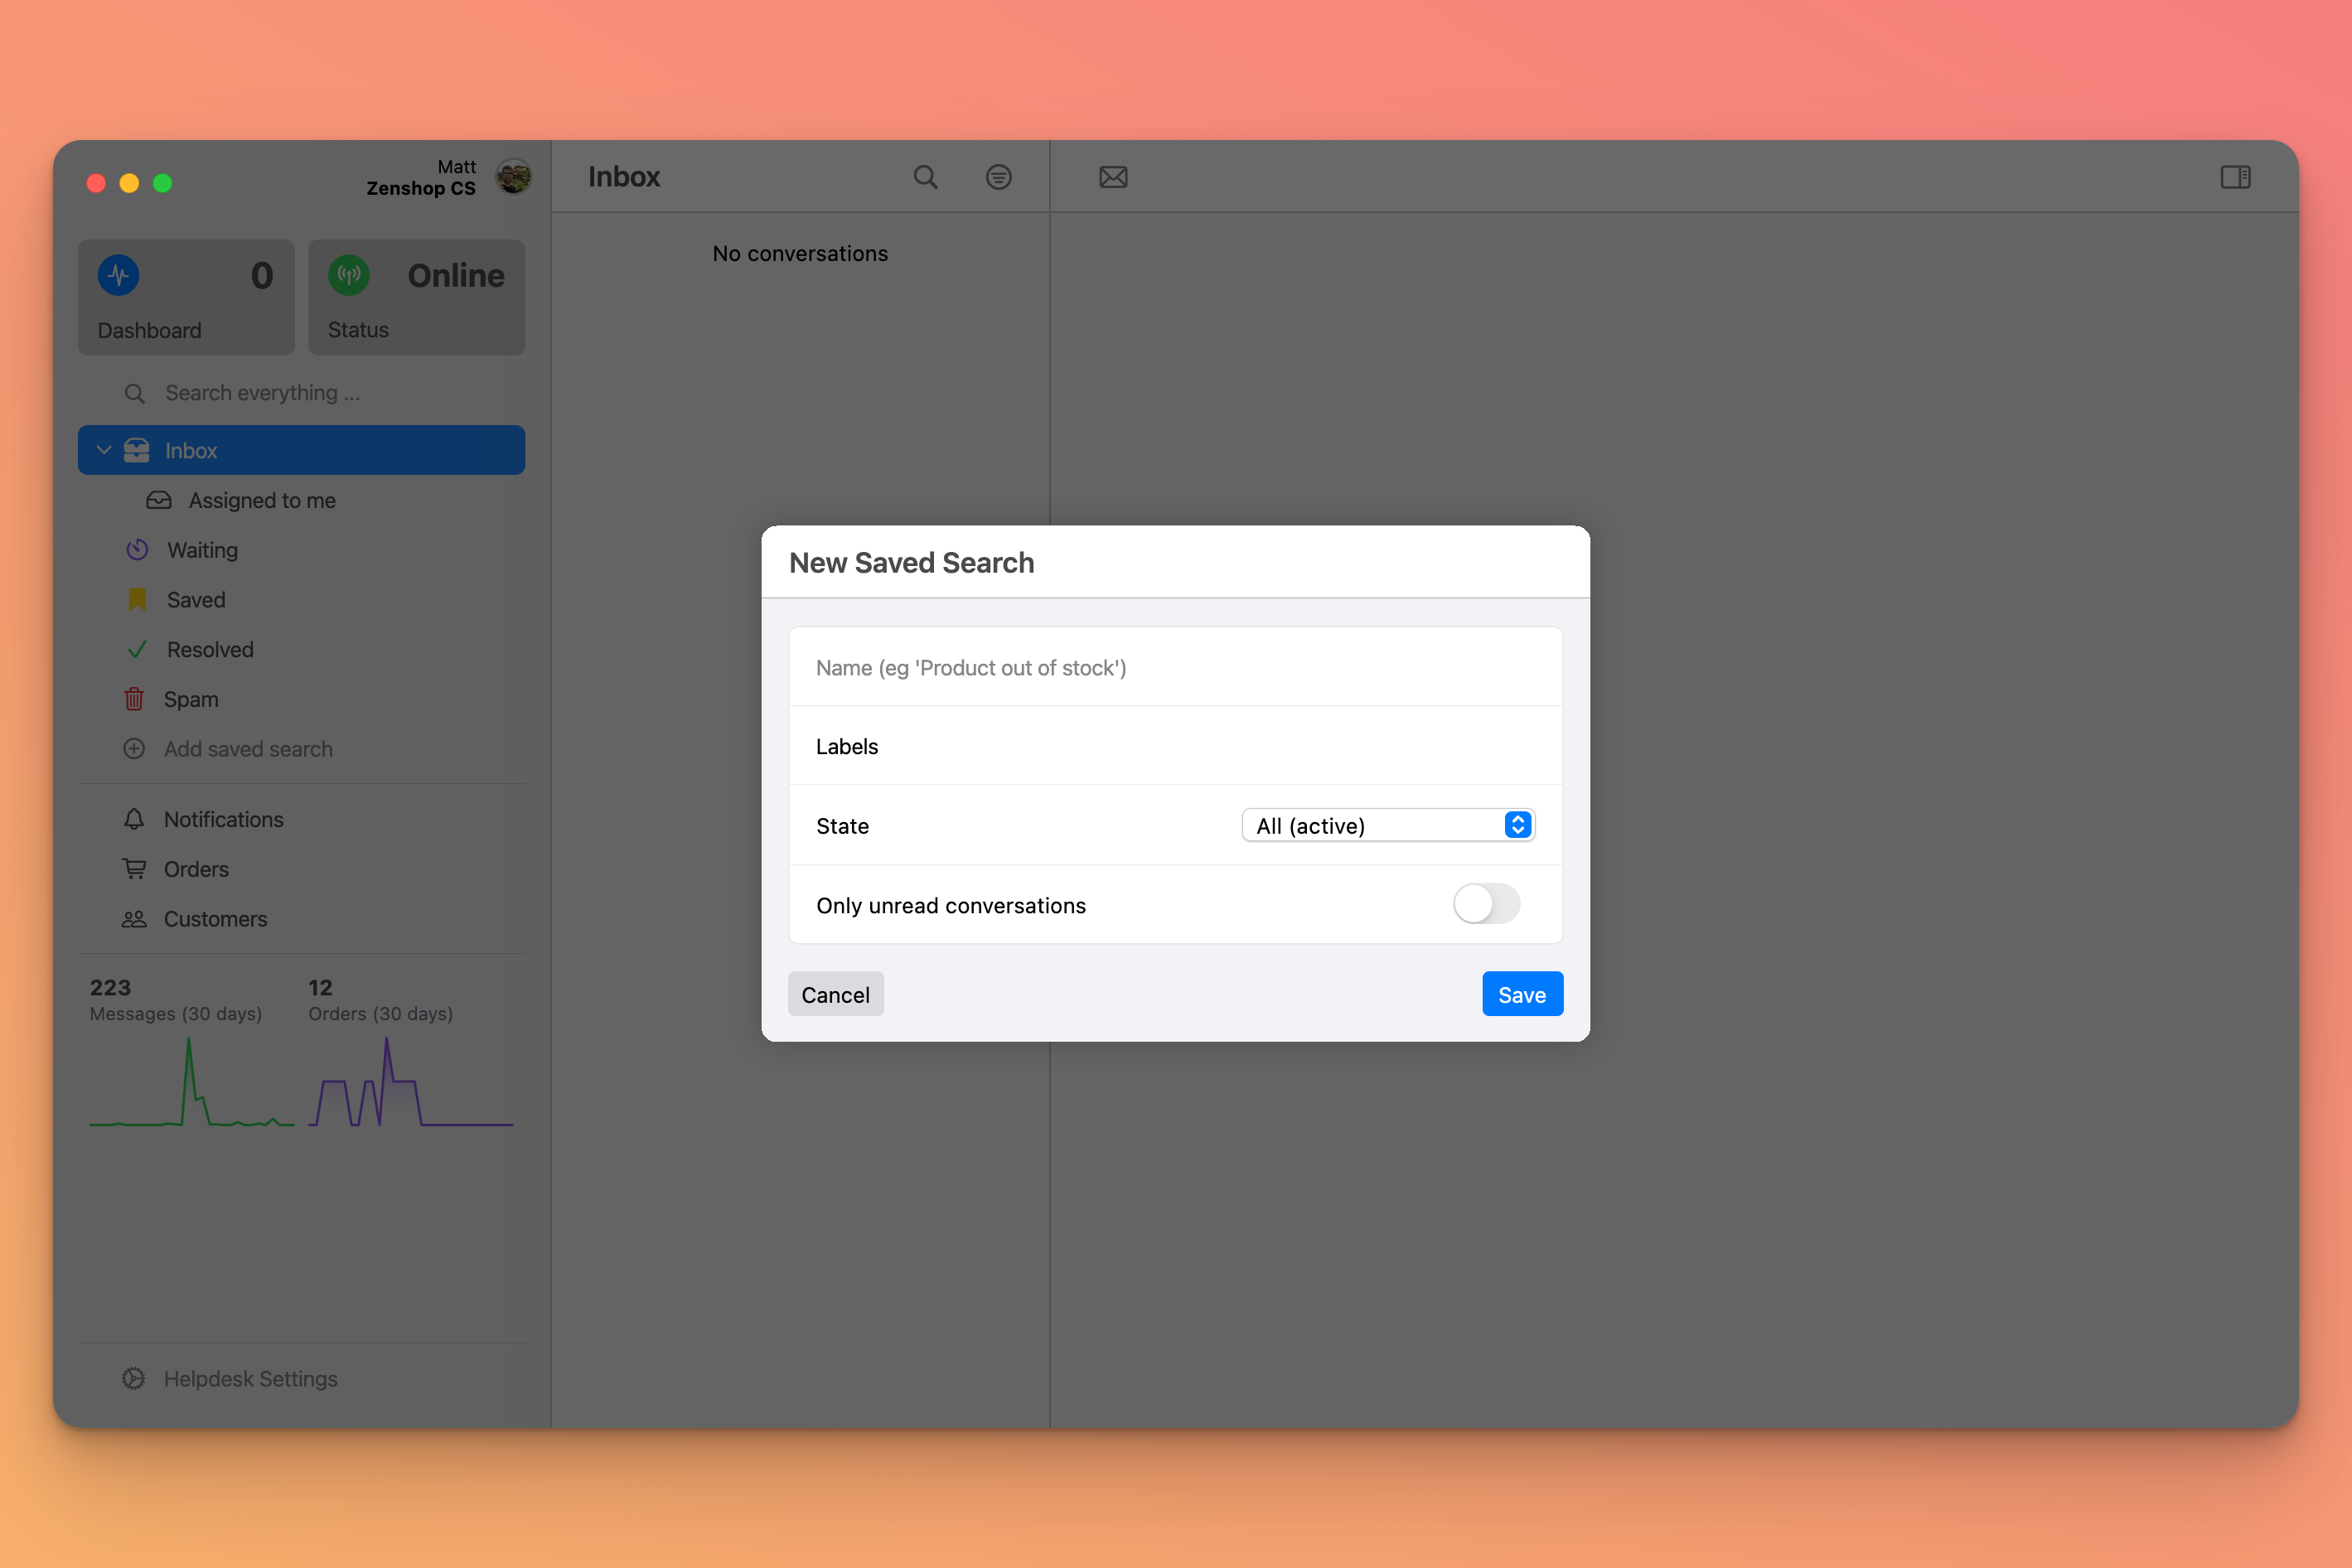
Create 'saved searches' to automate repetitive tasks.
Saved searches are awesome because they let you define how you want to organize your inbox.
You can create your own saved search by tapping Add saved search in the main application sidebar.
Adding a new saved search
Next steps
Great job for finishing the getting started guide! 🦄
Some suggestions for you to power-up your zenshop knowledge:
- How Shopify information is associated to a conversation in zenshop.
- Using notes in zenshop.